Maine Home Garden News — September 2021
In This Issue:
- September Is the Month to . . .
- Eager to Expand Your Planting Space? Put Down that Rototiller and Start Layering!
- Fall Frost Tolerance of Common Vegetables
- American Goldfinch
- Pruning Clematis 101
- Fall Soil Amendments for the Vegetable Garden
- Bringing in Herbs for Winter Enjoyment
- Reader Exchange — More Shade!
September Is the Month to . . .
By Kate Garland, Horticulturist , UMaine Extension Penobscot County
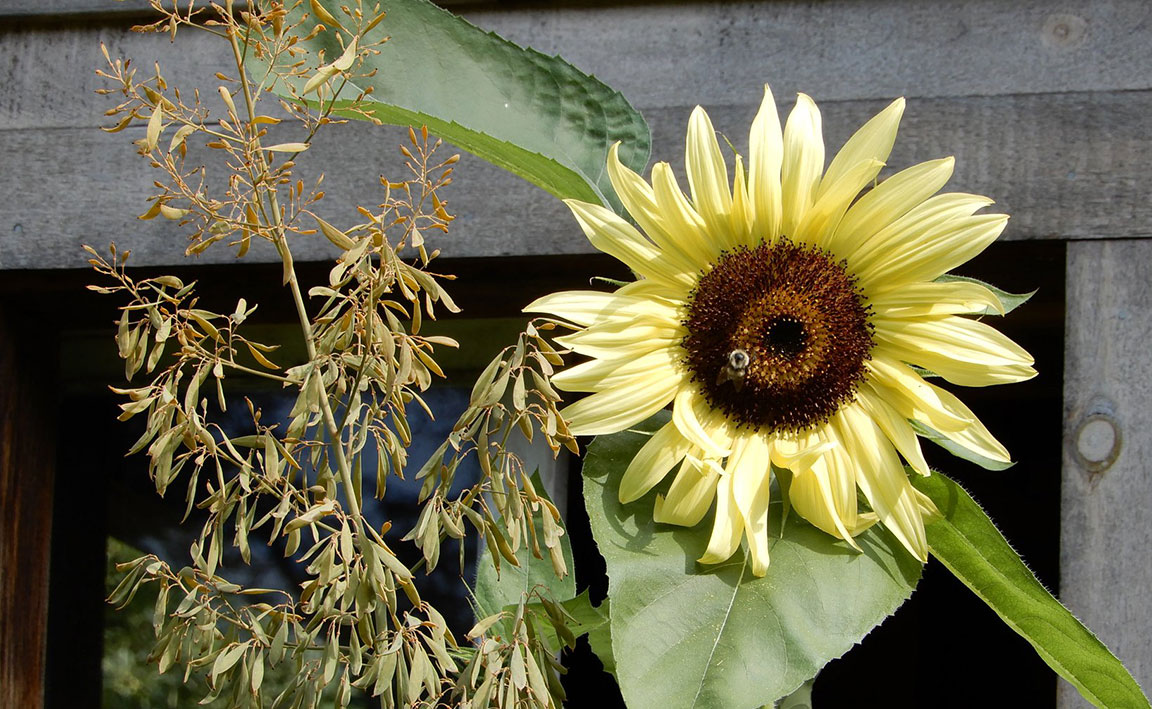
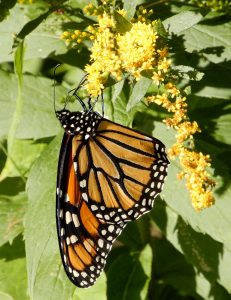 Embrace the beauty of goldenrod. For quite some time, this plant has been undervalued and even despised. We’ve even put undue blame on it for causing seasonal allergies. Many are falling in love with this well deserving plant now that we have a clearer picture of its role in supporting a tremendous variety of insects. A whopping 124 species of butterflies and moths use goldenrod as a caterpillar host plant in our region.

- Ensure weeds don’t go to seed. It can be tempting to think “Why bother? The season is almost over.” However this is the time of year when weeds can easily drop hundreds of thousands of seeds into your garden to haunt you for many years to come. The time you take to reduce the weed seed rain will pay huge dividends.
- Sow lawn seed. According to our bulletin Establishing a Home Lawn in Maine, “The best time to seed a lawn in Maine is from August 15 to September 15, when the warm soil allows seeds to germinate quickly. Late summer’s warm days and cool nights are ideal for strong seedling growth. There is less weed competition in late summer than in spring.”
- Enjoy every bit of the harvest. Are you pressure canning? Be careful to make sure the gasket on your pressure canner is in good condition, and get your dial gauge tested annually. Pressure canner gauges can be tested at most UMaine Extension offices.
- Construct a native seed starting nursery area or germination bed for late fall seed sowing adventures. While native seeds are ready to withstand the elements of winter in Maine, you do need to keep in mind a few site selection considerations. Be sure to choose a spot that’s not under a drip edge or where you expect heavy snow loads.
- Prepare for frost. Gather supplies such as old bedsheets, wire hoops, row cover, etc. to cover plants when temperatures begin to dip. Taking low-cost simple measures to protect cold sensitive crops at night can often extend the season 2-3 weeks or more.
- Scatter oat seeds under your tomato plants to get a cover crop growing while your plants are still in the ground. When it’s time to remove your tomato plants, simply use a pair of loppers or pruners to cut the stem at the soil line instead of pulling the roots out of the ground. This reduces the amount of disturbance around the newly emerging cover crop. After decomposing all winter, the remaining stump can easily be tugged out the following spring.
- Gather up a soil sample for testing. Tests taken at the end of the growing season are especially helpful because some amendments, such as lime, can take some time to react in the soil. Request a soil test kit.
Eager to Expand Your Planting Space? Put Down that Rototiller and Start Layering!
By Rose Greely, Cumberland County Master Gardener Volunteer
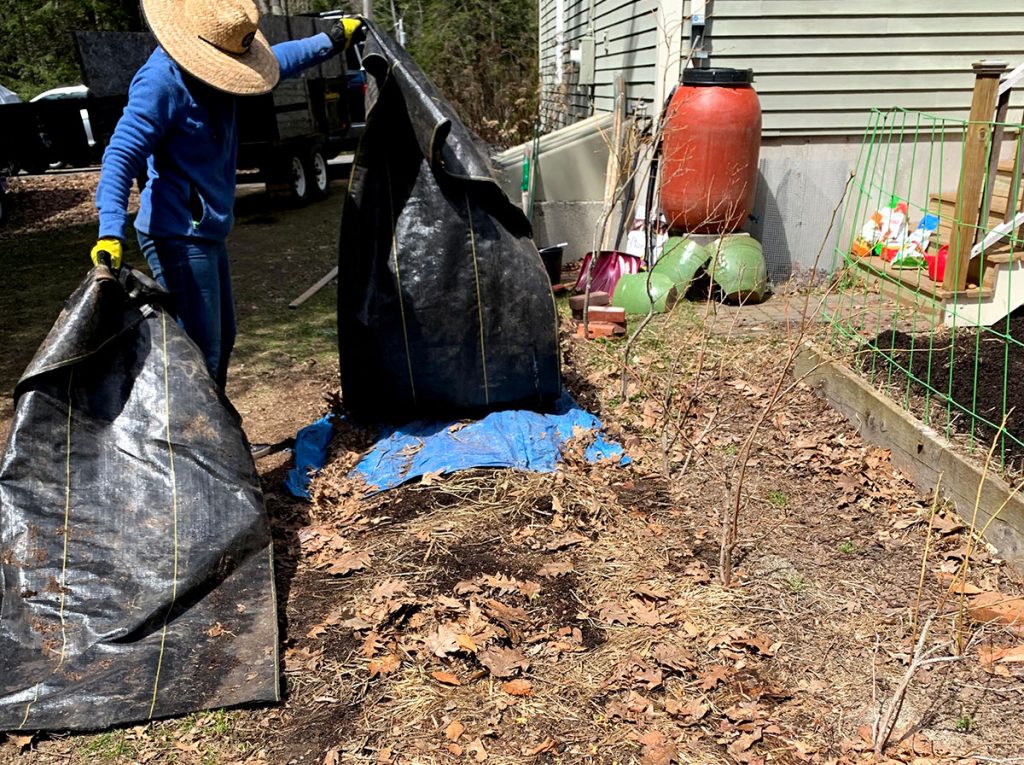
Sheet mulching (aka lasagna gardening) is a technique that can be used to establish any new growing space. Simply layer organic materials over your lawn, wait several months, and then start planting. The layering kills the grass but doesn’t disturb the active ecosystem just beneath the surface. The best time to start this is in the fall, so all of the compostable materials have several months to break down before planting.
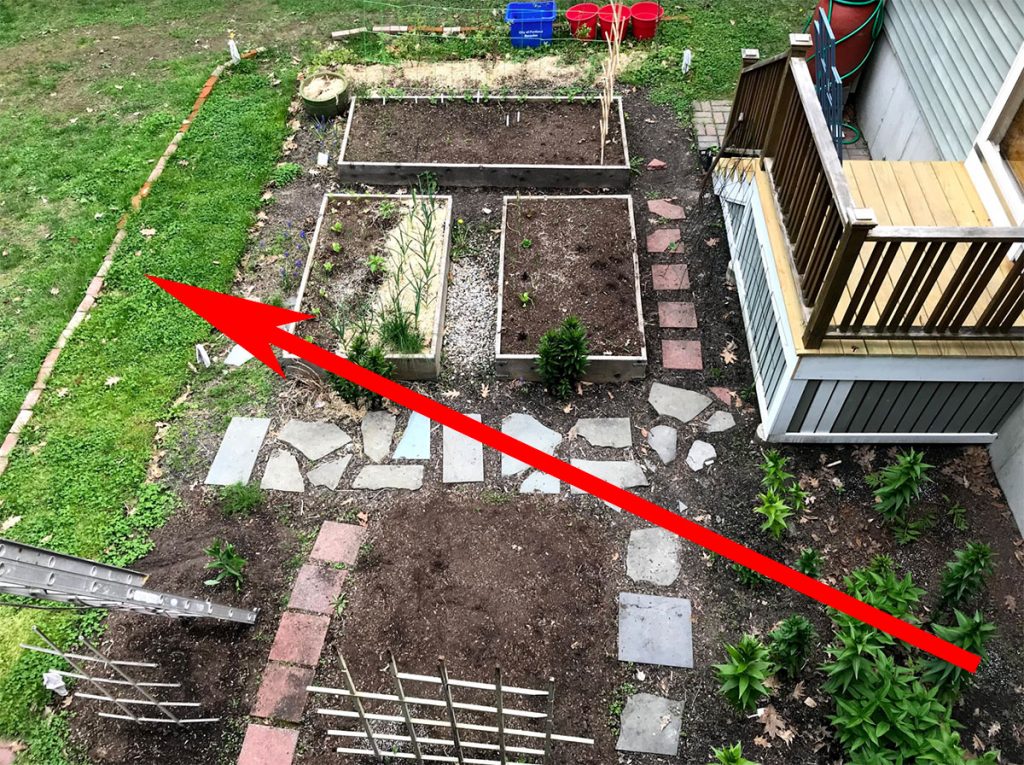
The lawn behind my house gets a lot of sun, but is mostly hard-packed clay and has many more weeds than grass. I didn’t want to build more raised beds, and after an eye-opening field trip to the no-till mecca of Frith Farm in Scarborough, I surely didn’t want to disturb the soil.
In late fall last year, I measured out my space and started layering compostable materials on top of each other. I was mindful of the need to balance nitrogen, carbon, and water, so each layer was topped with a solid hose down.
Before you begin, review best practices for composting, so you don’t add anything that isn’t good for your regular compost bin (no fats, meat, pet waste, dryer lint, diseased plants). I use the terms BROWN and GREEN to indicate if an ingredient provides nitrogen (GREEN) or carbon (BROWN), which are both essential for successful composting. Each layer should be at least 2 inches deep. It took me a few weeks to source all of the items I needed, so I kept layering as I collected.
Here are the steps:
-
-
Step 1. Mark out your new planting space with string or a hose. Mow the area closely to the ground.

-
-
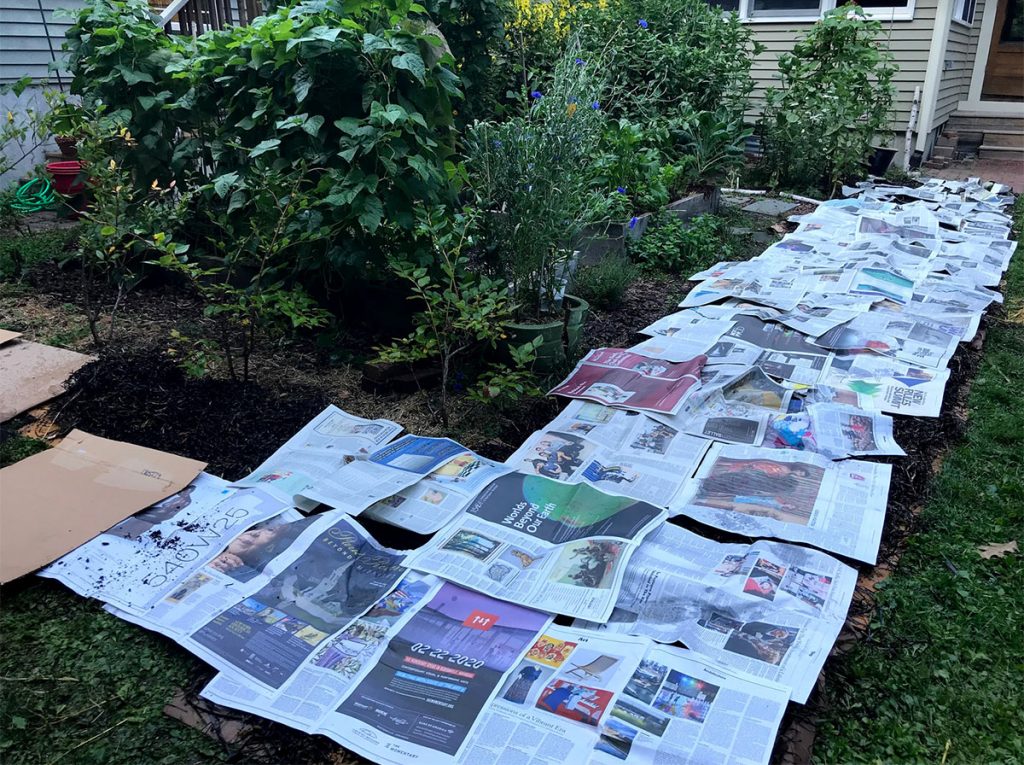
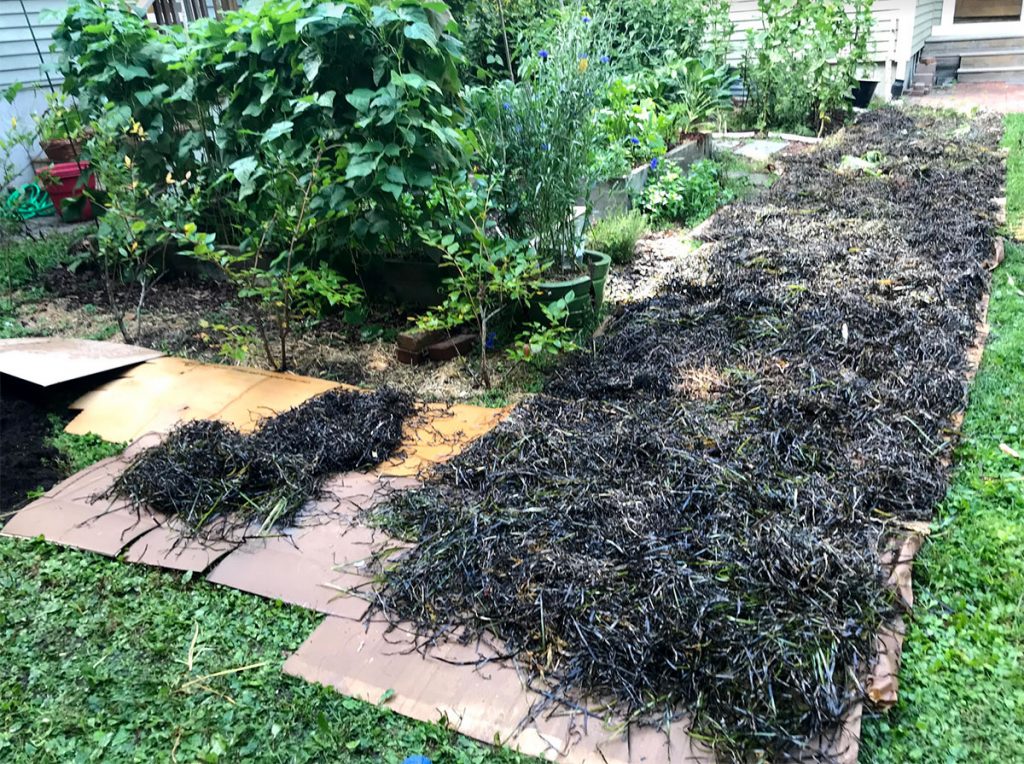
Step 2. Create your smothering base layer by placing sheets of cardboard (make sure you remove all the tape and labels) or a few layers of newspaper directly on top of the new planting area. Overlap your layers so weeds cannot poke through. Water thoroughly. This layer will stay wet and insulated with all that goes on top of it and should degrade within 4 to 5 months.

-
-
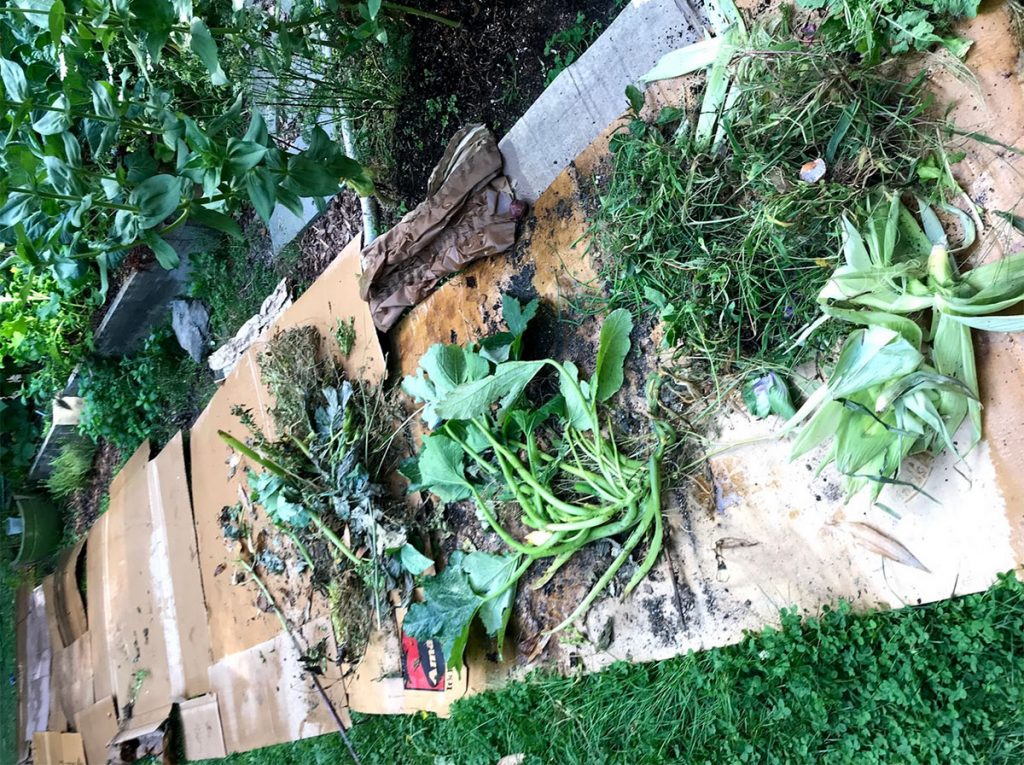
Step 3. GREEN—These items have water in them and include materials such as kitchen scraps, grass clippings, chicken poop, and seaweed. I asked my local coffee place to reserve their used coffee grounds and layered those in as well.

-
-
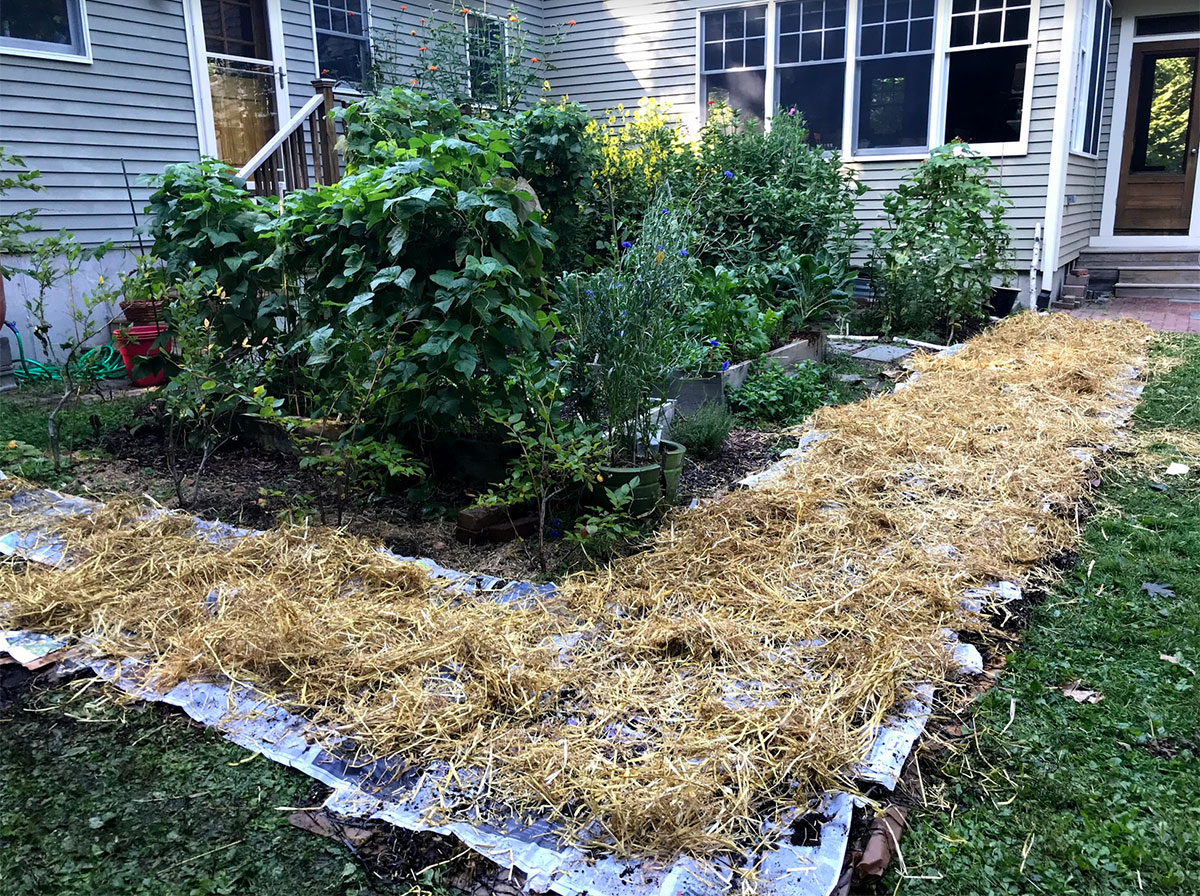
Step 4. BROWN—Your BROWN items will be dry and include materials such as shredded leaves (run the mower over a pile of leaves and, ta-da, shredded leaves!), newspaper, straw, shredded egg cartons, untreated wood chips, and compost.

-
-
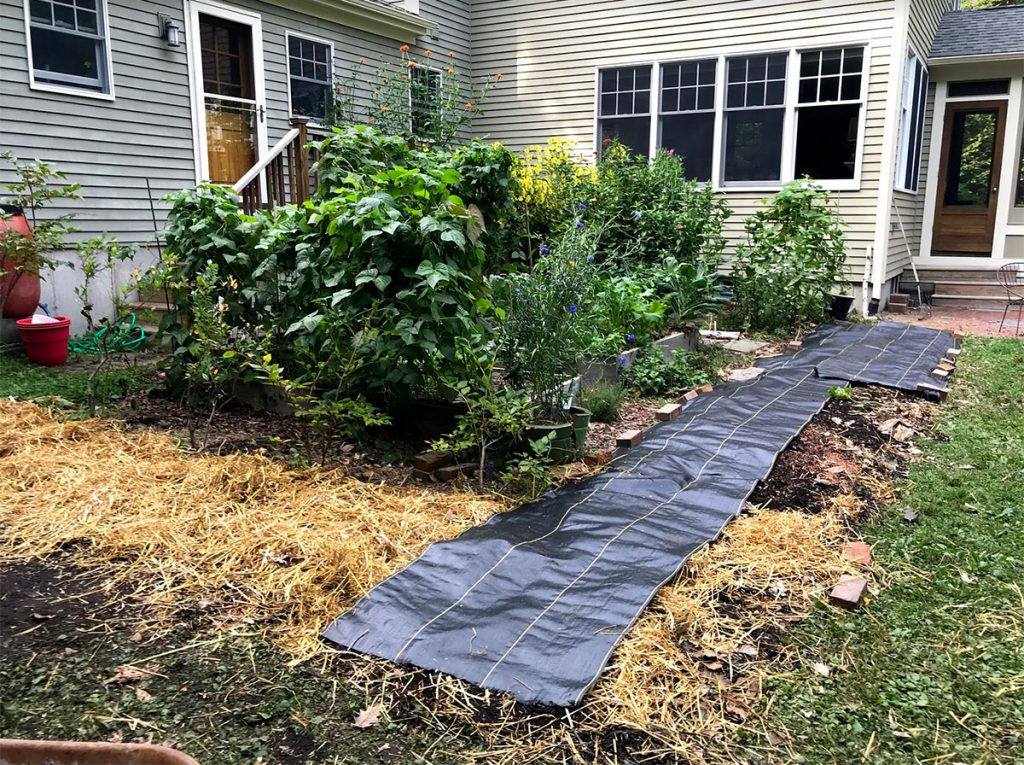
Step 6. After the final watering, cover the bed with a layer of compost and landscape cloth and secure it with bricks to withstand digging dogs or winter winds. The landscape cloth holds everything in place and allows water to percolate through, and the materials beneath begin to degrade as soon as the sun hits it.

-
-
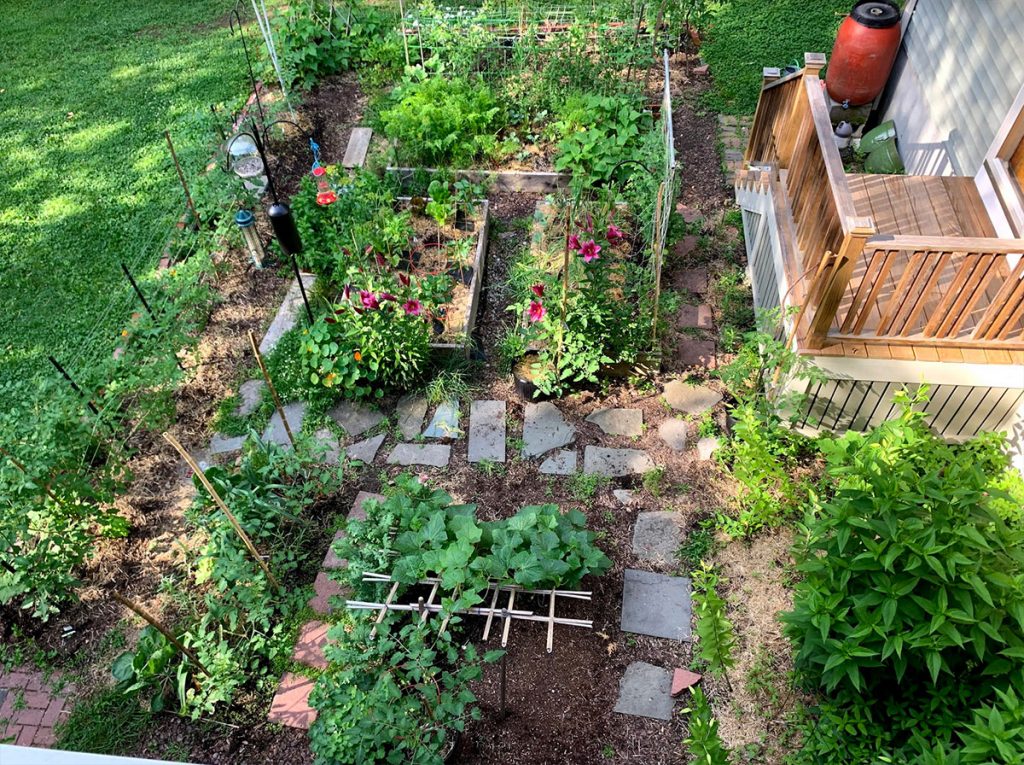
Step 7. After 6 months, I pulled off the landscape fabric and, voilá, a new swath of planting space. There was a little bit of cardboard left, but worms were making their way through it. Before I planted my seeds and seedlings, I added a layer of compost and had spectacular success with tomatoes, marigolds, and zinnias.

-
-
Good luck!


Fall Frost Tolerance of Common Vegetables
Adapted with permission from South Dakota State University.
Vegetables vary widely in how much cold they can tolerate as they reach maturity.
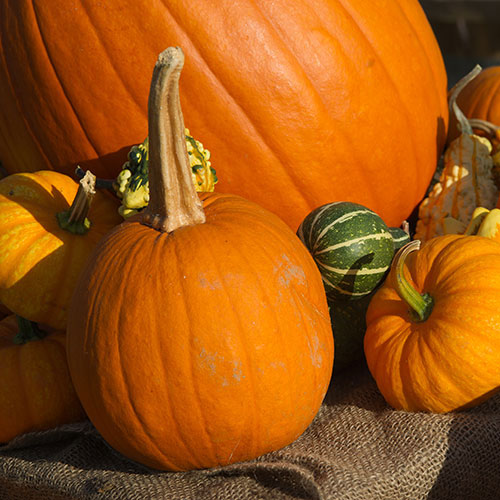
Crops that came from warmer parts of the world cannot tolerate even a light frost, and may even begin to suffer at temperatures below 50°F. Basil is an extreme example of this, as the leaves can turn black when the temperatures dip into the 40s. Other plants are a little more tolerant, and warm temperature following a short cold exposure can reverse some of the injury. For example, pumpkins can withstand 35°F nights if daytime temperatures reach 70°F or more.
No Frost
The following vegetables are not cold tolerant, and should be protected from frost or harvested before even a light frost:
-
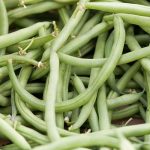
- Beans

-

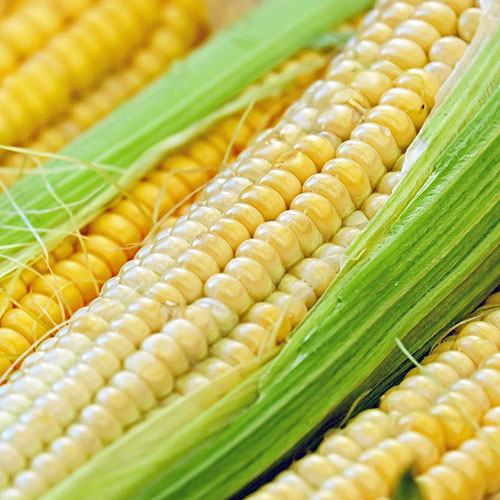
- Sweet Corn
-
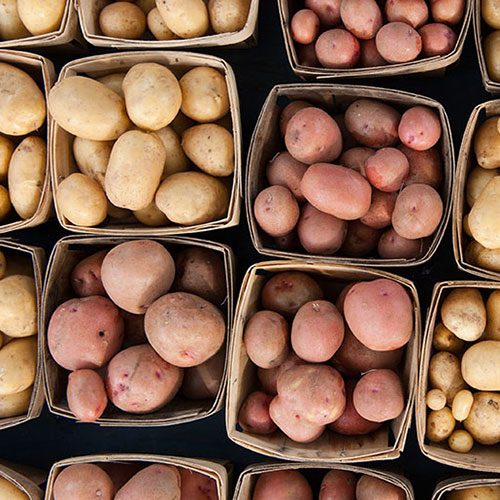
- Potatoes
-

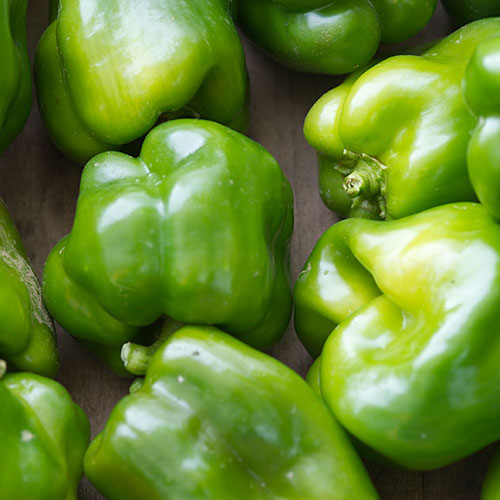
- Peppers
-

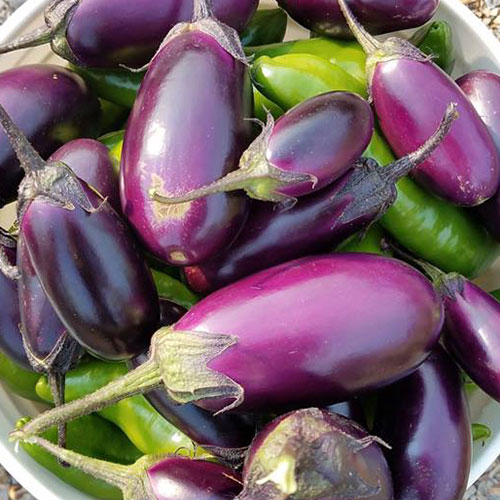
- Eggplant
-
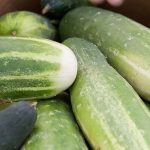
- Cucurbits 1

-
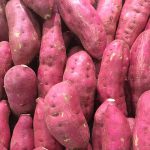
- Sweet Potatoes 2

1Cucumbers; Summer squash; Melons (Pumpkins and winter squash may be able to tolerate very light frosts, but it is better to protect them if possible.)
2ideally should be harvested before soil temperatures drop below 50°F
These vegetables also will not tolerate frost, but they will ripen further after picking, so can be harvested before they are fully mature:
-

- Tomatoes3

-

- Muskmelons4

-
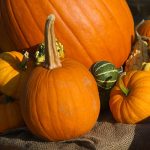
- Pumpkins5
3must be at least “mature green” (changed from the deep green to almost turning red)
4must “slip” easily from the vine, but can ripen further at room temperatures
5if they are starting to turn color, they will continue to turn color. However, their keeping quality will generally not be as good as those that were able to turn color while on a healthy green vine.
Light Frost
Crops from more temperate regions can withstand light freezes (28-32°F):
-
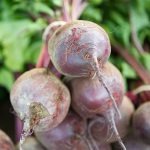
- Beets

-

- Carrots

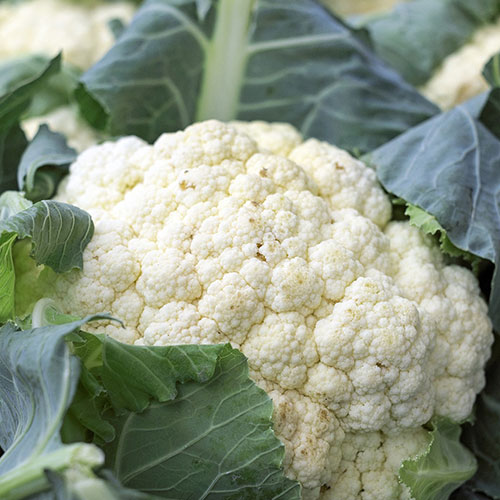
-

- Cauliflower
-
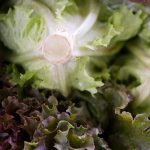
- Lettuce

-

- Onions, Garlic, Chives

-
- Parsley
-

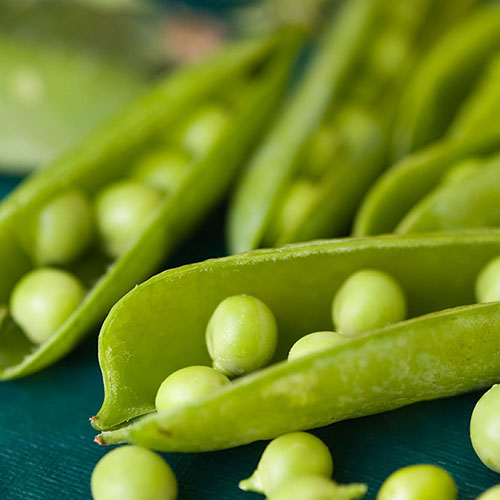
- Peas
-

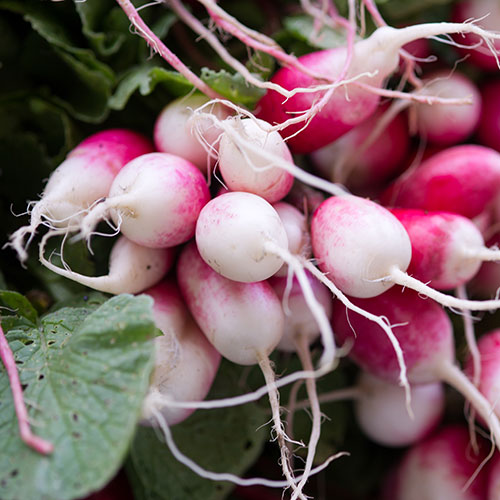
- Radishes
-
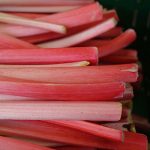
- Rhubarb

-

- Spinach

-
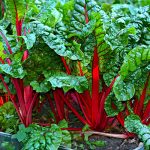
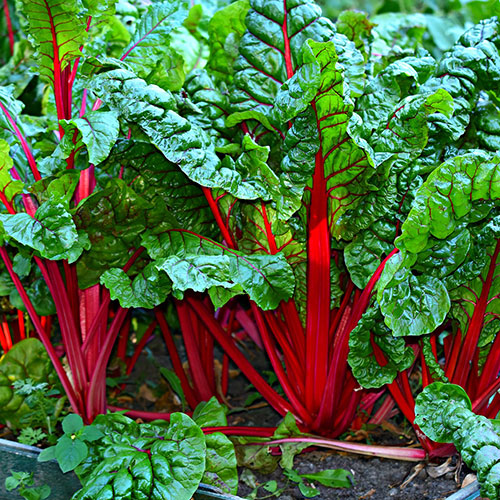
- Swiss Chard
Frost Hardy
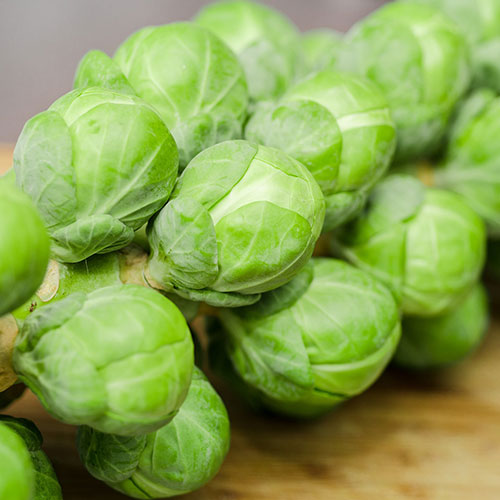
Some crops will improve flavor with exposure to cooler temperatures; Root crops develop more sugars when the soil temperature is below 40°F; and Brussels sprouts are often best after a light freeze.
Among the hardiest vegetables are cole crops, which can tolerate moderate (24-28°F) freezes:
-

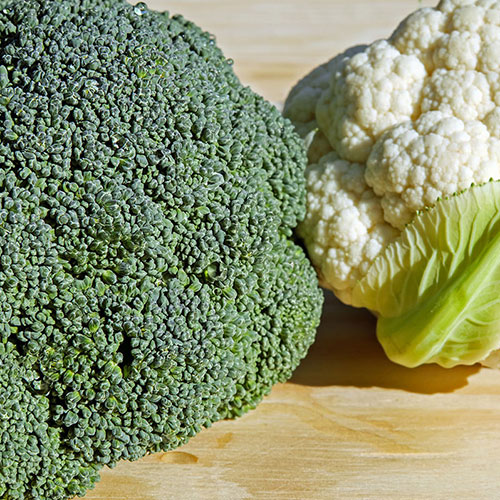
- Broccoli; Cauliflower (26°F)
-
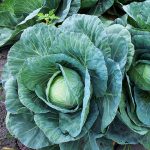
- Chinese cabbage; Cabbage; Kale; Kohlrabi; Turnip

For best quality, harvest after several moderate (24-28°F) freezes:
-
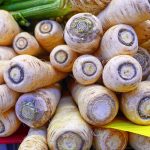
- Parsnip; Salsify

-
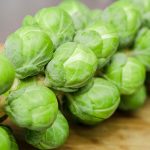
- Brussels Sprouts
Harvest after several severe (under 24°F) freezes:
-
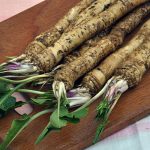
- Horseradish6

6Horseradish can be stored in ground overwinter with mulch (photo by Orest lyzhechka, Shutterfly)
American Goldfinch
By Doug Hitchcox, Maine Audubon Staff Naturalist
One of the most familiar of songbirds, the American Goldfinch, is a late and specialized nester. In late summer, while many of Maine’s breeding birds are fledging this year’s chicks, goldfinches are just getting started. By September, the goldfinch chicks should be out of the nest, still following adults around, while most of their migrating relatives are already moving south. Goldfinches have a late nesting season because, unlike most birds that rely on insects for feeding their young, they rely on flowering of thistles (Cynareae) and almost exclusively feed their chicks seeds. After nesting, goldfinches molt and trade their “gold” for a duller mustard-brown plumage that often leads people to think they are a different species visiting their yard in the winter.
For more on the importance of Maine native plants to support birds and other wildlife, visit Maine Audubon’s “Bringing Nature Home” webpage.
-
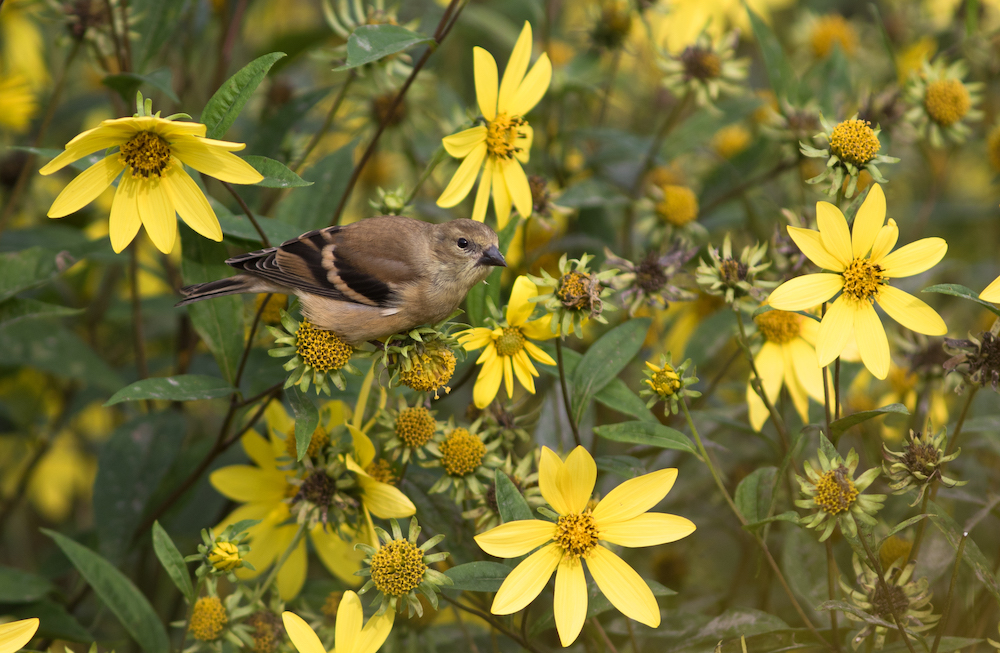
- American Goldfinch (juvenile); Photo credit to Doug Hitchcox.
-
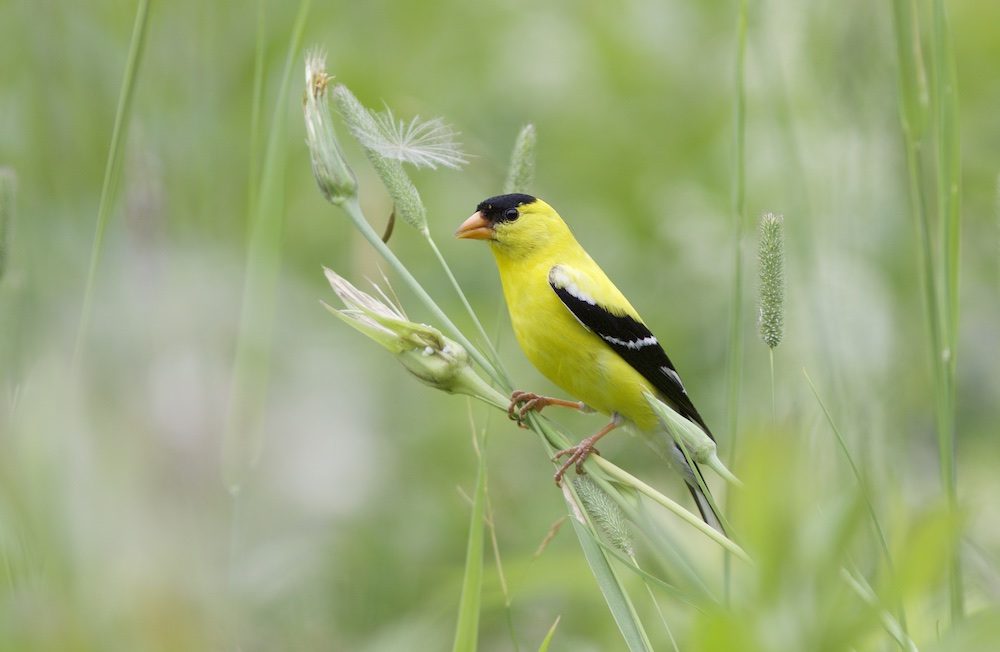
- American Goldfinch (adult male). Photo by Doug Hitchcox.

Pruning Clematis 101
By Marjorie Peronto, Extension Educator, UMaine Extension Hancock County
Q: I have a beautiful flowering clematis vine. It’s getting quite large. When should I cut it back?
A: First, think about your goals. Reasonable goals to strive for when pruning a clematis vine are
- keep the plant healthy,
- keep the size manageable, and
- get the most from its flower display.
So, when to cut it back? The answer is, IT DEPENDS. There are more than 250 species of clematis with several hundred cultivars. Not all of these will grow in Maine, but many are hardy here. For pruning purposes, clematis vines are grouped into three categories based on their bloom time.
Group 1: Flowers early (May/early June)
Vines in this group bear their flowers on last year’s stems (“old wood”). In the spring, wait until the buds start to show green growth, so you can tell if there has been any winter die-back. Remove dead stems. If you wish to rein your plant in by trimming back live stems, wait to do this until immediately after it flowers. The new shoots that appear following pruning are the ones that will bear flowers next year.
Group 2: Flowers early (May/early June) AND late (August/September)
Vines in this group bloom on old wood in the spring and again later in the summer on new growth. You can lightly prune these in the late fall (after leaf drop) or early spring (just before bud-break) to remove dead or weak wood and to shape and untangle.
Group 3: Flowers in late summer/early fall (August/September)
Vines in this group bear their flowers on current year’s growth. These vines are the easiest to prune, responding well to being cut back hard in the spring. Just before growth begins for the season, cut all the stems back to about 12 inches from the ground, leaving at least two to three pairs of healthy buds on each stem. This will encourage growth of strong new shoots that will produce abundant flowers this year.
Lastly, don’t worry, you won’t kill your clematis plant if you prune it incorrectly. The worst that will happen is that you’ll decrease the flower display. For more information on when to prune clematis, try this short video from the University of Illinois Extension, Clematis Pruning Groups.
Happy gardening!
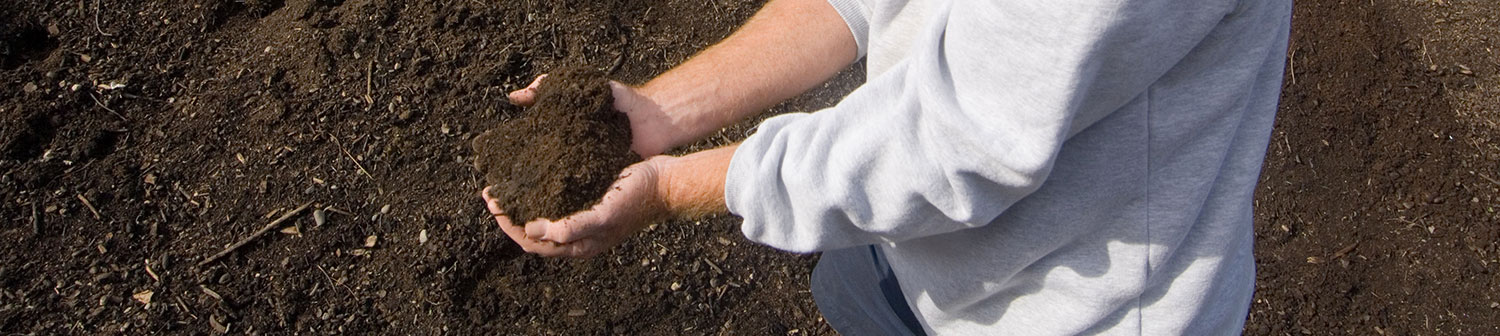
Fall Soil Amendments for the Vegetable Garden
By Rebecca Long, Agriculture and Food System Professional, UMaine Extension Oxford County
It’s been a hard-fought season in the garden, between early season insect pressure and humid conditions just right for fungal diseases. But before you throw in the trowel for the season, consider how you are going to protect your soil over the winter.
Ideally, strive to go into the winter with some sort of cover on your soil to protect it from compaction and erosion. The best time to start thinking about this is as soon as a spot in the garden opens up. Once you have harvested a crop and removed any plant matter that could harbor insects or diseases over the winter, consider your options for soil cover.
Cover crops provide habitat and food for soil organisms, protect the soil, and add organic matter.
Oats and peas are a great combination that can be sown until early September. They will be killed over the winter, providing a layer of mulch that is easily incorporated in the spring in time for early season crops.
If you miss the window for oats, consider winter rye and vetch. The latest option available for planting in Maine, rye can be seeded until mid-October. Keep in mind, however, it will begin growing again in spring so account for extra time and equipment to kill and incorporate it.
Another option for winter cover is adding several inches of organic mulch like shredded leaves or grass clippings from an herbicide-free lawn. They can be incorporated into the soil in the spring, or you can simply plant your transplants directly into them, and they will provide a head start on weed control in the spring.
Since raw manure should be added 90−120 days before you harvest, depending on the crop, fall is the ideal season to add manure to the garden. If you regularly add manure or compost to your garden, make sure to get a soil test every few years to monitor nutrient levels. It’s not uncommon to see soil tests results from gardens that get faithful manure and compost applications with nutrient levels way above the ideal range, which can cause nutrient imbalances and environmental issues from excess nutrients in groundwater and runoff. You can also apply your compost in the fall, but keep applications light, there’s no need to apply several inches of compost every year.
Once you have those soil test results, fall is also a great time to adjust your pH, to allow enough time for lime (to raise pH) or sulfur (to lower it) to react with the soil. Always adjust pH based on a soil test result, even includes applications of wood ash, which also raise your pH quickly!
Hold off on adding fertilizer to your vegetable garden until spring though. Nitrogen in your soil is easily washed down past the root zone by heavy spring rains, so it’s best to apply that closer to planting in the spring.
Once you’ve got your garden all tucked in for winter, sit back and relax; it will be time to order seeds before you know it!
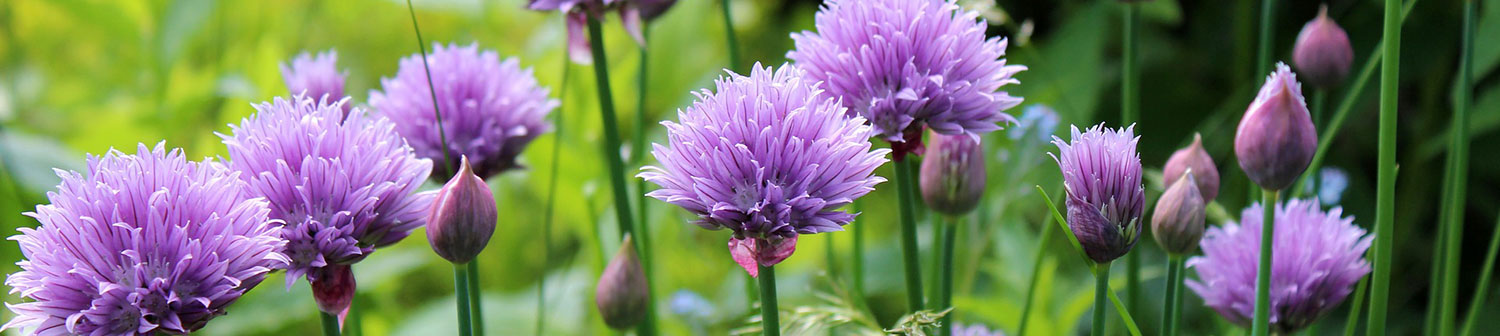
Bringing in Herbs for Winter Enjoyment
By Donna Coffin, Extension Professor, UMaine Extension Penobscot and Piscataquis Counties
You’ve been enjoying fresh herbs in your food and drink all summer, but can you continue enjoying fresh herbs during the winter? The answer for some herbs is yes. Tender perennial herbs with smaller root systems or seedlings of annual herbs may be able to make it through the winter in our homes. Remember the air inside during the winter is dry, the natural daylight is not as long or intense (artificial lights may be needed) and plants must be watched for pests, which can take over very quickly.
Things to consider when bringing herbs to use during the winter:
- Bring them in before cool weather
- Select herbs that are healthy and pest free
- Divide a perennial herb that has multiple stems if the roots are large
- Spray the plant and roots with water to wash away any unwanted hitchhikers
- Use a pot big enough for their root system with media that drains well
- Provide bright light or artificial light for most herbs once they are acclimated to indoor life
- Be careful not to over or under water
- Group plants together to make their immediate area more humid
Herbs that can do well indoors in the winter by separating roots from in-ground plants:
- chives
- parsley
- mint
Herbs that do better if grown in pots year-round (they can summer outside with the pot sunk in the ground and then be brought in before the temperatures get cool):
- rosemary
- thyme
- oregano
- sage
- lavender
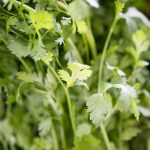
Herbs that do better started in pots from seed for winter use:
- basil
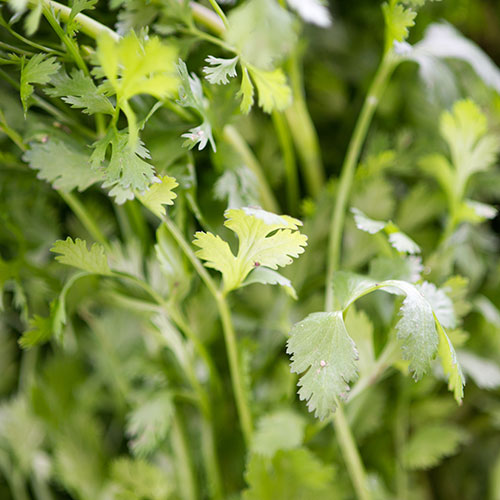
- cilantro
- lemon balm
- dill
Some links of interest:
- Tips on Growing Herbs Inside for the Winter
- Herbs All Winter
- UNH Extension Indoor Herb Gardens
- Learn: HSA Publications : Quick Fact Sheets
Reader Exchange – More Shade!
By Connie Bellet
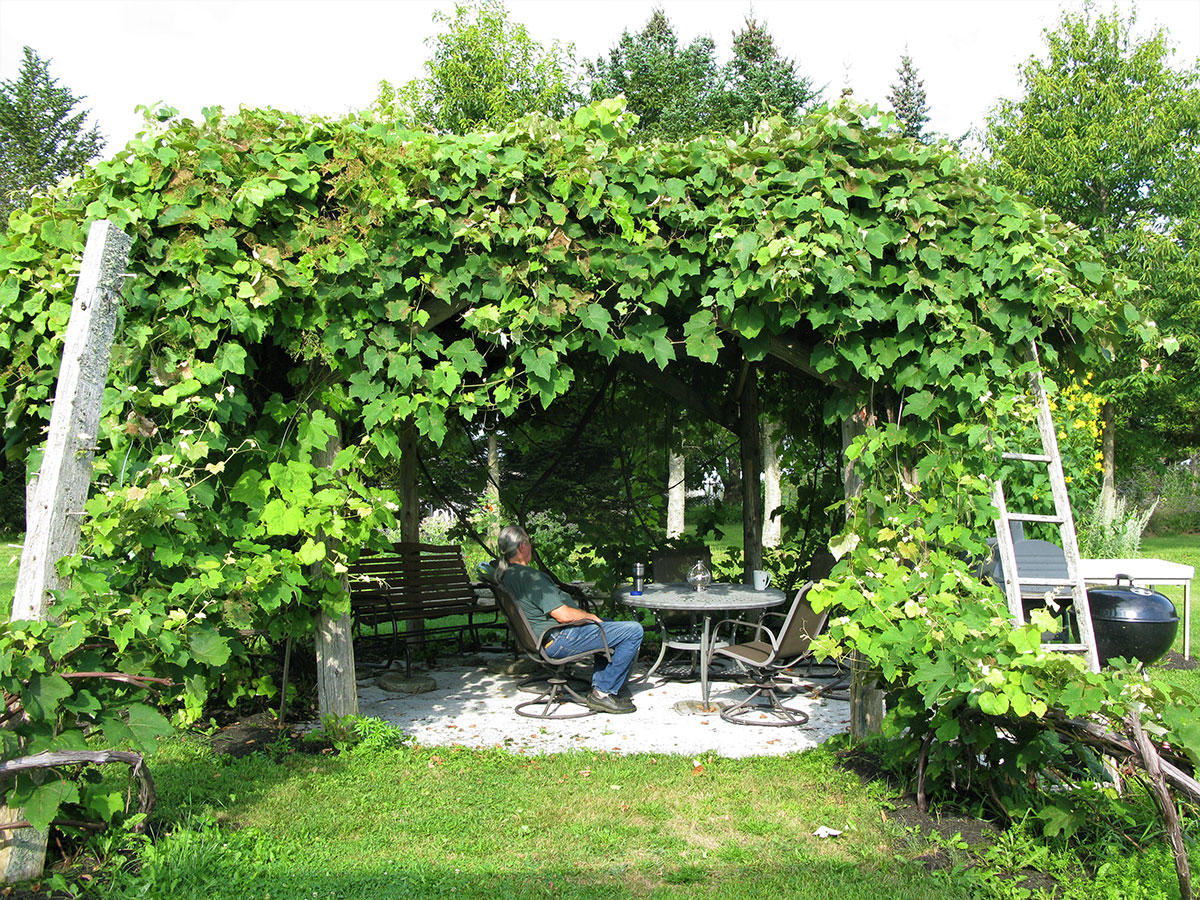
In about 2013, my husband was still building 32 cedar log raised beds for our community garden. Then he got some big cedar logs and curved raw cedar boards and built a magnificent grape arbor. We had helped our late friend Clem Blakney plant over a thousand grapevines in his vineyard, and he had a few “orphans,” which we planted around the log structure. Now we have a great place for morning coffee, barbeques for friends and volunteers, or just relaxing.
Cheers!
Our readers have a lot of experience and great ideas. Therefore, we decided it’s high time you chimed in with some of your favorite gardening tips and tricks. Each month, we’ll challenge you to send us gardening “hacks” that make your horticultural life more fun and productive. If your submission is selected, we’ll provide you with a free soil test with the Maine Soil Testing Service. Submit your ideas to katherine.garland@maine.edu with the email subject “Reader Exchange”.
Do you appreciate the work we are doing?
Consider making a contribution to the Maine Master Gardener Development Fund. Your dollars will support and expand Master Gardener Volunteer community outreach across Maine.
Your feedback is important to us!
We appreciate your feedback and ideas for future Maine Home Garden News topics. We look forward to sharing new information and inspiration in future issues.
Subscribe to Maine Home Garden News
Let us know if you would like to be notified when new issues are posted. To receive e-mail notifications, click on the Subscribe button below.
University of Maine Cooperative Extension’s Maine Home Garden News is designed to equip home gardeners with practical, timely information.
For more information or questions, contact Kate Garland at katherine.garland@maine.edu or 1.800.287.1485 (in Maine).
Visit our Archives to see past issues.
Maine Home Garden News was created in response to a continued increase in requests for information on gardening and includes timely and seasonal tips, as well as research-based articles on all aspects of gardening. Articles are written by UMaine Extension specialists, educators, and horticulture professionals, as well as Master Gardener Volunteers from around Maine, with Katherine Garland, UMaine Extension Horticulturalist in Penobscot County, serving as editor. Special thanks to our 2020 Master Gardener Volunteer co-editors Naomi Jacobs and Abby Zelz.
Information in this publication is provided purely for educational purposes. No responsibility is assumed for any problems associated with the use of products or services mentioned. No endorsement of products or companies is intended, nor is criticism of unnamed products or companies implied.
© 2021
Call 800.287.0274 (in Maine), or 207.581.3188, for information on publications and program offerings from University of Maine Cooperative Extension, or visit extension.umaine.edu.
The University of Maine is an EEO/AA employer, and does not discriminate on the grounds of race, color, religion, sex, sexual orientation, transgender status, gender expression, national origin, citizenship status, age, disability, genetic information or veteran’s status in employment, education, and all other programs and activities. The following person has been designated to handle inquiries regarding non-discrimination policies: Director of Equal Opportunity, 101 North Stevens Hall, University of Maine, Orono, ME 04469-5754, 207.581.1226, TTY 711 (Maine Relay System).