How to create WooCommerce Export Reports
Exporting Reports out of WooCommerce
- When logged in to the UMaine Extension Workshops, Classes, and Events website, go to the WooCommerce tab on the dashboard and click tab to display its various segments.
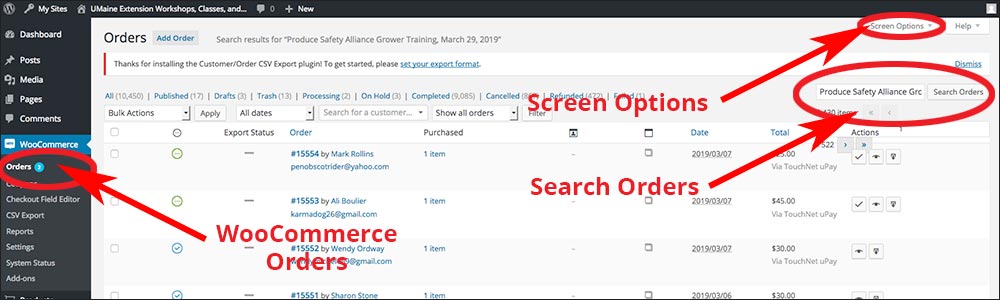
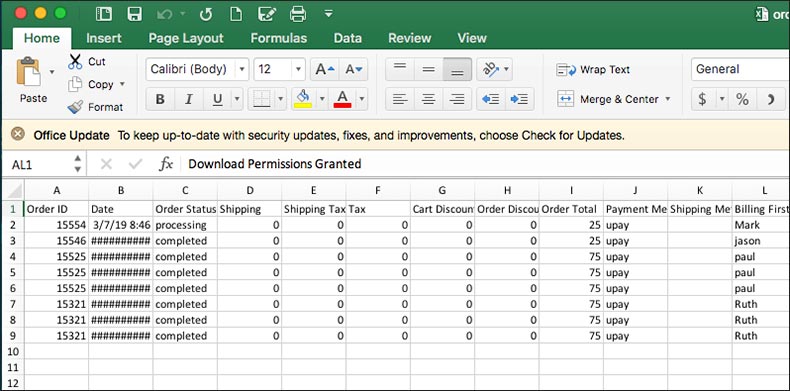
The WooCommerce Orders dashboard: Screen Options and Search Orders areas circled in red. - Select Orders from the list.
- In the Search Orders box, enter the name of the workshop (the product name) and press the Search button. Note: If workshop title is a long title, you may need to shorten the search text. In this example: Produce Safety Alliance Grower Training – Dover-Foxcroft: March 29, 2019 (Snow date: April 4) may be shortened to Produce Safety Alliance Grower Training – Dover-Foxcroft: March 29, 2019
- Best Practice Note: In the Screen Options box (upper right-hand corner of order list view), increase the Number of Orders Per Page to 200
- Once you have the a list of orders displayed, use the drop-down from the Bulk Action dialog box, check the box checkbox directly below the Bulk Action drop down menu, this should select all customer entries on the displayed list.
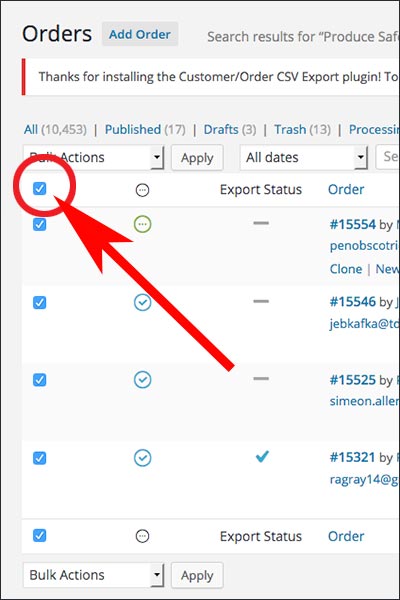
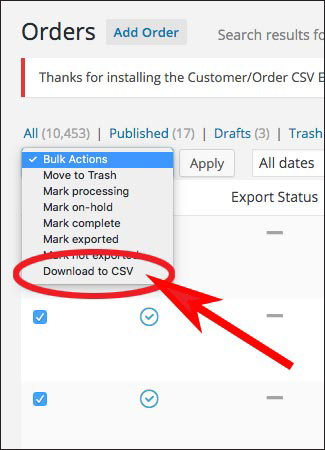
Checkbox (circled in red) beneath the Bulk Actions pull-down menu that, when check, will select all on the list. - Select Download to CSV from the drop-down menu and press the Apply button.
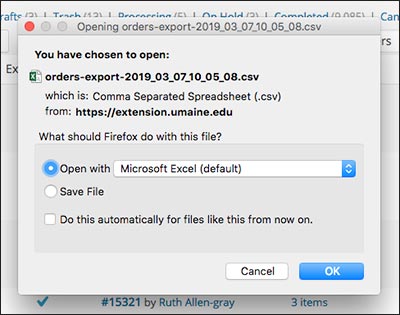
- A pop-up may appear that will give two options for Excel file export, select an option and press OK. An Excel spreadsheet will be generated which can be edited. You may opt out of making this choice by checking the box at the bottom of the pop-up box. The Excel spreadsheet will automatically open in future reports once you opt out.
Suggestions are listed, below, for columns (fields of information) to keep or delete. We are limited as to what is exported and do not use many of the columns.
Columns NOT USED which can be deleted:
- All Shipping columns
- Item SKU
- Download Permissions Granted
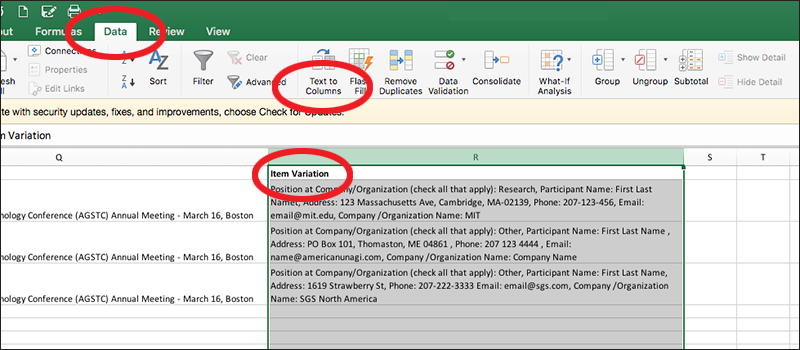
- Find the column header: Item Variations, on the spreadsheet. Scroll through the column headers to the right to see if there maybe other data that you want to include in your report. For example: Item Amount, Row Price, etc. Delete all other unneeded fields by clicking-and-dragging across unneeded columns, select and delete.
To delete a column:
- Click the top edge of the column header or the column in the table. Click once to select the entire column and delete.
Columns to review:
- Order ID Number: customer may have two entries and total paid shows up two times. (For accurate dollar amount paid, see Item Amount and Row Price.)
- Item Variation: this is additional information collected (example: location, participant name, book, etc.)
- Item Amount: number for order (customer can register and pay for additional participants)
- Order Notes: shows order status, additional notes, refunds, etc.
- Customer Note (Visit the CDMS and WooCommerce: Best Practices, Tips, Policy and Troubleshooting page for more information)
Creating the Final Report of Participant Information
You will now be able to create a roster of participants’ names and any additional information that was collected. Every form will produce different information.
- Delete all data to the right of the Item Variation column.
- Highlight/select Item Variation column.
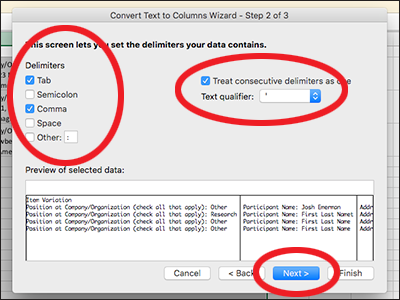
- At the top of the Excel spread sheet Window, select the Data tab in the upper menu bar, click the Text to Column button. Once you’ve clicked the button, dialog windows (Convert Text to Columns Wizard) will go step-by step, providing options to choose for customization, to produce a final report.
Highlighting the Item Variation column, go to the Data tab and click the Text to Columns button. 
Convert Text to Columns Wizard – Step 2 of 3 
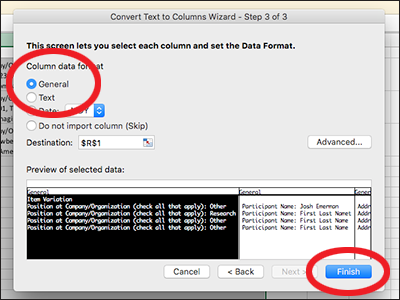
Convert Text to Columns Wizard – Step 3 of 3 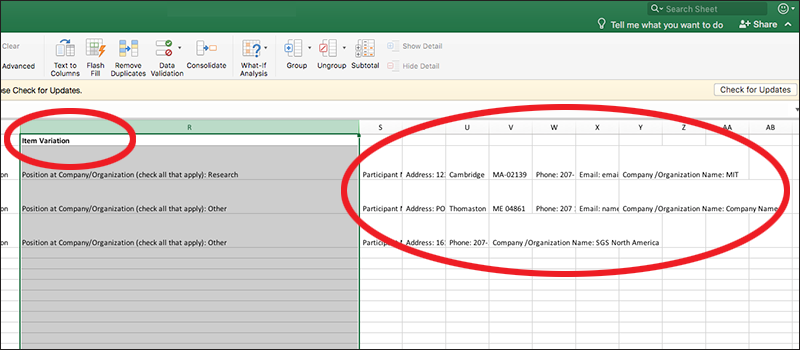
Final output of Text to Column process.
For additional assistance, advanced CDMS or Excel training or if you have any questions, please email Michele Lodgek, michele.lodgek@maine.edu or call 207.581.2721.