Experience 1: Maps of Maine
Topic: Youth will be introduced to different maps of Maine and tasked with working together to discover what they represent.
Time: This lesson should take approximately 45-60 minutes to complete.
Learning Outcomes
At the end of this activity, you should be able to:
- Recognize that we all see things differently and have different perspectives.
- Explain what a map is used for and discuss some of the features that commonly make up maps.
- Recognize that there are many different ways to look at maps of Maine.
Background Information for Facilitator
In each experience in this series, the facilitator will provide opportunities for youth to think about perspectives of their own as well as those of others. Experience One engages youth in sharing and considering different views in the context of various Maine maps. This experience starts by introducing the concept of perspective in two ways. The first demonstrates visual perspectives by making observations of a plastic ball from different locations. The second presents a familiar map with a different orientation. Building on these ideas, youth will construct a map of Maine from their own perspective and investigate Maine maps. Youth will learn how maps can be viewed from different perspectives, through this map exploration. For example, they will learn about the Wabanaki Territories and are given a chance to see a new view of maps that they might not have known before. There will be an answer key provided for each map found within the facilitator binder. During this experience, it is important to remind youth that we are not looking for right or wrong answers. The goal is to practice acknowledging views different from our own with value and respect.
Facilitator Note: During the experience, the facilitator should be prepared to talk about how Wabanaki land has been taken over time. This may include acknowledging how different events led to what Wabanaki Nations currently control/have jurisdiction over. This change in land loss is observable from the differences seen between maps 6 and 7. The Dawnland micro-credential is a good resource to refer to when trying to make these connections.
Materials
- 15 copies of the world map
- 1 folder containing all the facilitator maps
- 15 student copies of (Maps 1-7)
- 25 copies of “My Maine Perspective” (With the outline of Maine)
- 25 copies of “My Maine Perspective” (Without outline of Maine)
- 5 packs of colored pencils
- 5 packs of crayons
- 25 pencils
- 25 Whiteboards and markers
- 25 erasers
- 1 plastic ball with a smiley face
- 1 plastic holder for the smiley face ball.
Vocabulary
- Perspectives – One’s view or attitude toward something; a point of view
- Map – A tool used to interpret or represent information about a geographic area
Methods
Part 1: Introduction to Perspectives
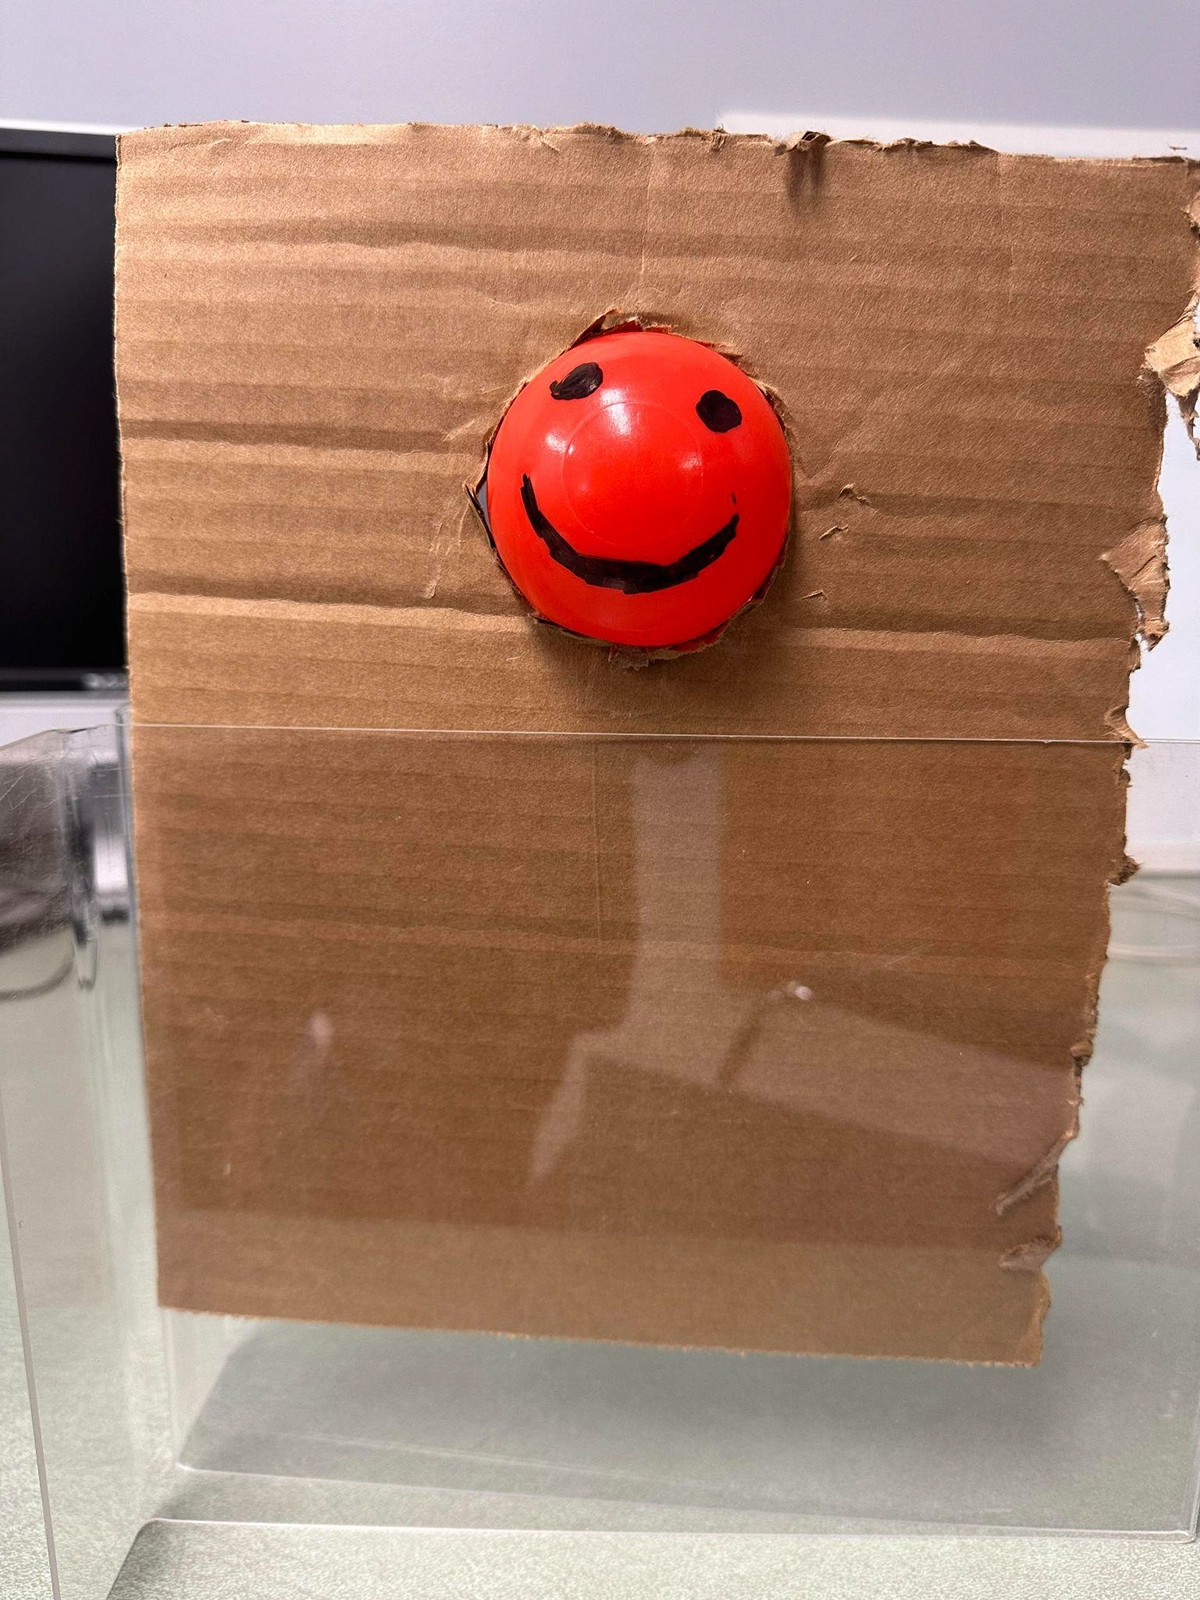
- Start by splitting the youth into two groups. Have each group move to opposite sides of the room. Remove the apparatus holding the plastic ball with one side having no face and the other side showing a smiley face.
-
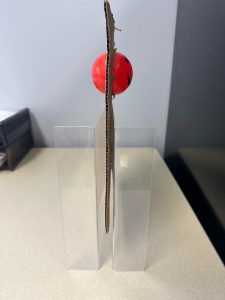
- Plastic ball setup (Photo Credit: Tyler Tibbetts)
-
- Have youth take a moment to examine what they are looking at. After a couple of minutes have them describe what they are seeing in as much detail as possible. Youth will notice that there are two different sides to this ball but depending on which side you are on you would describe it differently. Explain to the youth this is one example of what a perspective is. Notice that everyone is looking at the same object and describing it in two different ways. Finish this exercise by noting that “we will be exploring perspectives in all the experiences in this series.”
- Let the youth know what they are going to be doing for the day.
- Something you might say is: “Today we’re going to be exploring different maps of Maine and learning about new perspectives. Before we start, we are going to look at a familiar map from a different perspective.”
- Show the youth a map of the world upside down and ask who has seen this map before. Explain that some people may prefer the orientation of this map compared to the one commonly used because of the way that they view maps.

Part 2: Constructing Maps
- Now that youth are primed thinking about maps, have them either use a map of Maine (template provided) or make their own map adding anything that they think should be included. Explain to the youth that they will be creating a map of Maine from their own perspective.
- Engaging questions to ask youth:
- When you think of Maine, what comes to mind?
- What do you think should be included in a map of Maine?
- If needed, have a few examples of features related to maps to share with the youth to get them thinking.
- Where might that show up on your map?
- Optional questions to ask youth
- Do we have rivers? Should animals be included?
- Should we include our homes?
- What else might be useful for you to have on your map?
- Do any features stick out to you?
- What are some reasons that people would use maps?
- How would you use your map? (or what makes this map meaningful to you?)
- Map-pair-share
- Have the youth share their maps to get an idea of each other’s perspectives. Do this by having the youth partner up and spend a short amount of time (2-4 minutes) explaining their maps to one another.
Part 3: Maine Map Investigation
- Now youth have explored their thoughts about maps. In the second part, they will be tasked with looking at the same map and then working together to decipher what the map might represent. This will hopefully spark youth to think about different ways of seeing the same map.
- Facilitator Note: One optional way to make another connection with maps in this experience is to add a map of your local area for the youth to try and guess what is being shown. An example of a map used in the Orono area is shown as Map 11 in the facilitator binder.
- Split youth into groups of 3-5.
- Give each group markers and a whiteboard.
- Explain to the youth that they are about to look at maps of Maine and they are tasked with working as a team to figure out what is being shown on each.
- Start by showing Map 1 (this can be done with one of the physical copies or on a projector).
- Youth should take about 2-3 minutes to discuss what they notice about the map and what it might represent.
- Ask the youth what they think the maps represent and have them write an answer on their whiteboard.
- Ask each group to share their ideas.
- If youth come up with different answers, have a discussion about each group’s perspective and have each group explain why they chose their answer. During this time it would be helpful to remind youth that we are not looking for right or wrong answers and that they will be exploring and learning each perspective together through maps being presented. Remind them that we could all still have our own perspectives about what the maps represent.
- While each map is being presented, the facilitator can explore with the student with questions that help lead them to the answer. Many of these maps will be new so it may be hard for the youth to figure out what they represent.
- Facilitator Note: there are some notes on the back of each map related to key features to pay attention to.
- Continue this process with maps 2-7 by repeating the process for Map 1.
- Once the youth have completed talking about the final map, ask them to erase and return their whiteboards, markers, and maps.
Part 4: Reflection
- Compare the background knowledge activity and what the youth just learned about maps.
- Were there new maps introduced to you today?
- Do you have more questions about any maps you saw today?
- Why do we think there are so many maps of Maine?
- What did you learn about perspectives?
- Why might it be useful to share our perspectives with others?
- Who makes the maps?
- Who decides what should be included in a map?
- When were the borders (lines) made for each state?
- What are some other examples of things we might see differently?
- Facilitator Note: We are hoping that youth will discuss perspectives that are new to them. Youth will probably have questions about some of the new perspectives they saw during the activity.
Facilitator Note: Experience two has an optional component to be outside near water. If you plan to go outside for this experience now would be a good time to prepare youth to bring the proper shoes and outdoor gear to do this experience.
Supplement to Experience 1: Maps of Maine
- Lighthouses: List of Lighthouses in Maine (Wikipedia)
- Maine Wildlife: Maine Hunting Zone Maps (Maine Guides)
- Mountains: Maps of Mountains in Maine (Earth at Home)
- Nations: Tribal Lands in Maine (Wabanaki Alliance)
- Rivers in Bangor, Maine:
- Territories: Native Land website