Teachable Moments…Flower Arrangements
By Sara Conant, UMaine Extension Staff, 4-H Community Education Assistant
 UMaine Extension Cumberland staff members will be bringing you new skills, tips, and tricks about a variety of Extension related programs in our Teachable Moments series. This month we’ll teach you how to make floral arrangements.
Master Gardeners with floral arrangement experience gathered at the UMaine Extension Cumberland Office on August 19 to make floral arrangements for the Taste of Tidewater fundraising event held August 20 to support the UMaine Extension Cumberland Horticulture Department and the Gardens at Tidewater Farm. In our first Teachable Moments, 4-H Community Education Assistant, Sara Conant asked Master Gardeners to teach her how to make flower arrangements like the pros.
Randall Landry, Master Gardener Class of ’99, who happens to come from a family of florists, and grew up working in his family’s flower shop gave me some great tips on how to make beautiful arrangements.
Tip 1 – Put marbles or glass stones in your vase to not only create a pretty effect but also to weight your vase so that your flowers do not tip it over in taller arrangements.
Tip 2 – Always give stems a fresh cut to allow for optimal water soaking ability. Flower fresh packs help to keep bacteria in the water down. It is also best to change the water every other day for optimal flower life. Taking excess leaves off and only allowing stems into the water will make your water stay fresher longer.
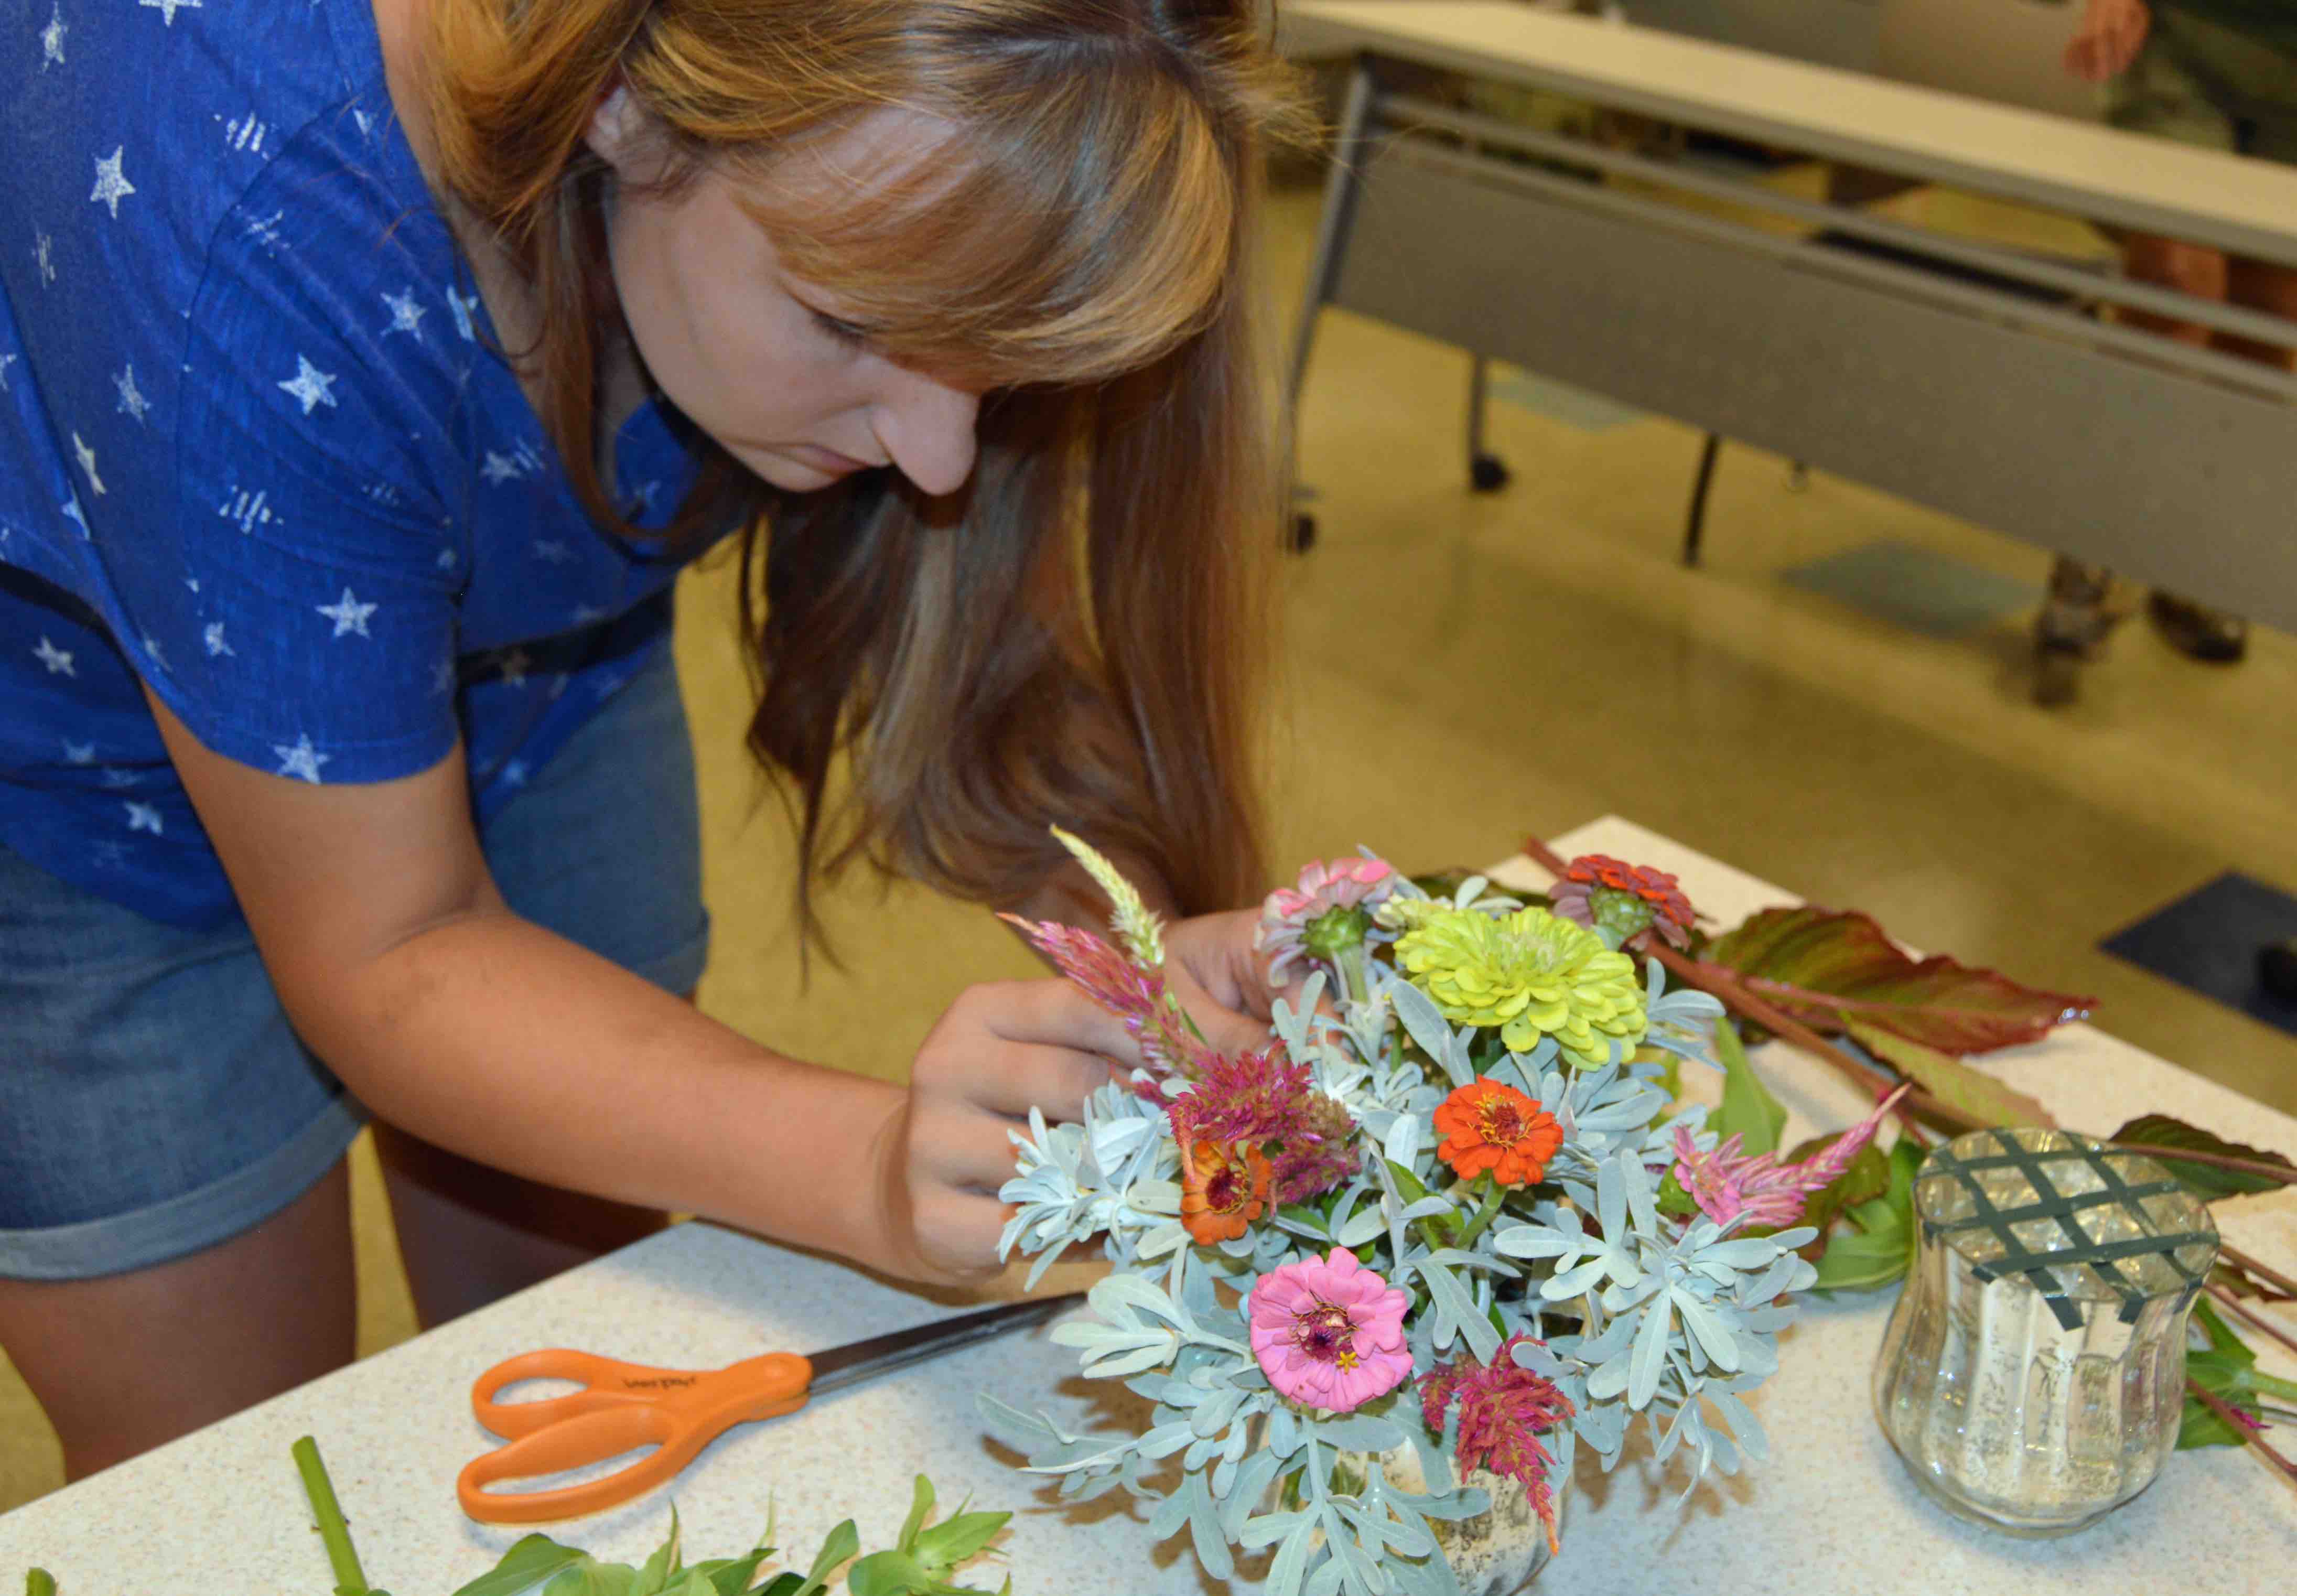
Tip 3 – Start with your greenery first. Lay the green base before adding your flowers. Make sure to mix texture and colors. Sara’s Note – I also went rogue and added some flowers that were small and in small bunchs, or a colorful long flower here and there to my greenery mix to add more bulk and color to my arrangement (as seen in the photo below).
Tip 4 – Pick your color scheme – using colors that are opposite on the color wheel (ex: purple & yellow) works well for an eye popping arrangement. Carry this color scheme throughout the whole arrangement.
Tip 5 – Give your arrangement a pyramidal look by having taller flowers at the center and sloping, shorter flowers/greenery on the way out from the center. Picking three “show stoppers” for the center is a great way to achieve this look. Make sure to work your arrangement from all sides so that it is balanced.
 Tip 6 – Don’t overdo it. Sara’s Note: This tip is so important…the first couple of arrangements I did (with aesthetic help from coworkers Lynne, Mallory, & Tayla) had clear stopping points, we could easily tell when they looked great. The last arrangement however we got a bit carried away and wanted to use lots of pretty flowers that were leftover…this left us with a bit of a mess so with the help of Master Gardener and former florist Lisa Friedlander we pared it down quite a bit.
 After giving me these vital tips Randall helped me set up two short arrangements for the card tables at the Taste of Tidewater event.
Supplies:
- Pair of scissors
- Floral tape
- Short vase
- Water
- Flowers & greens
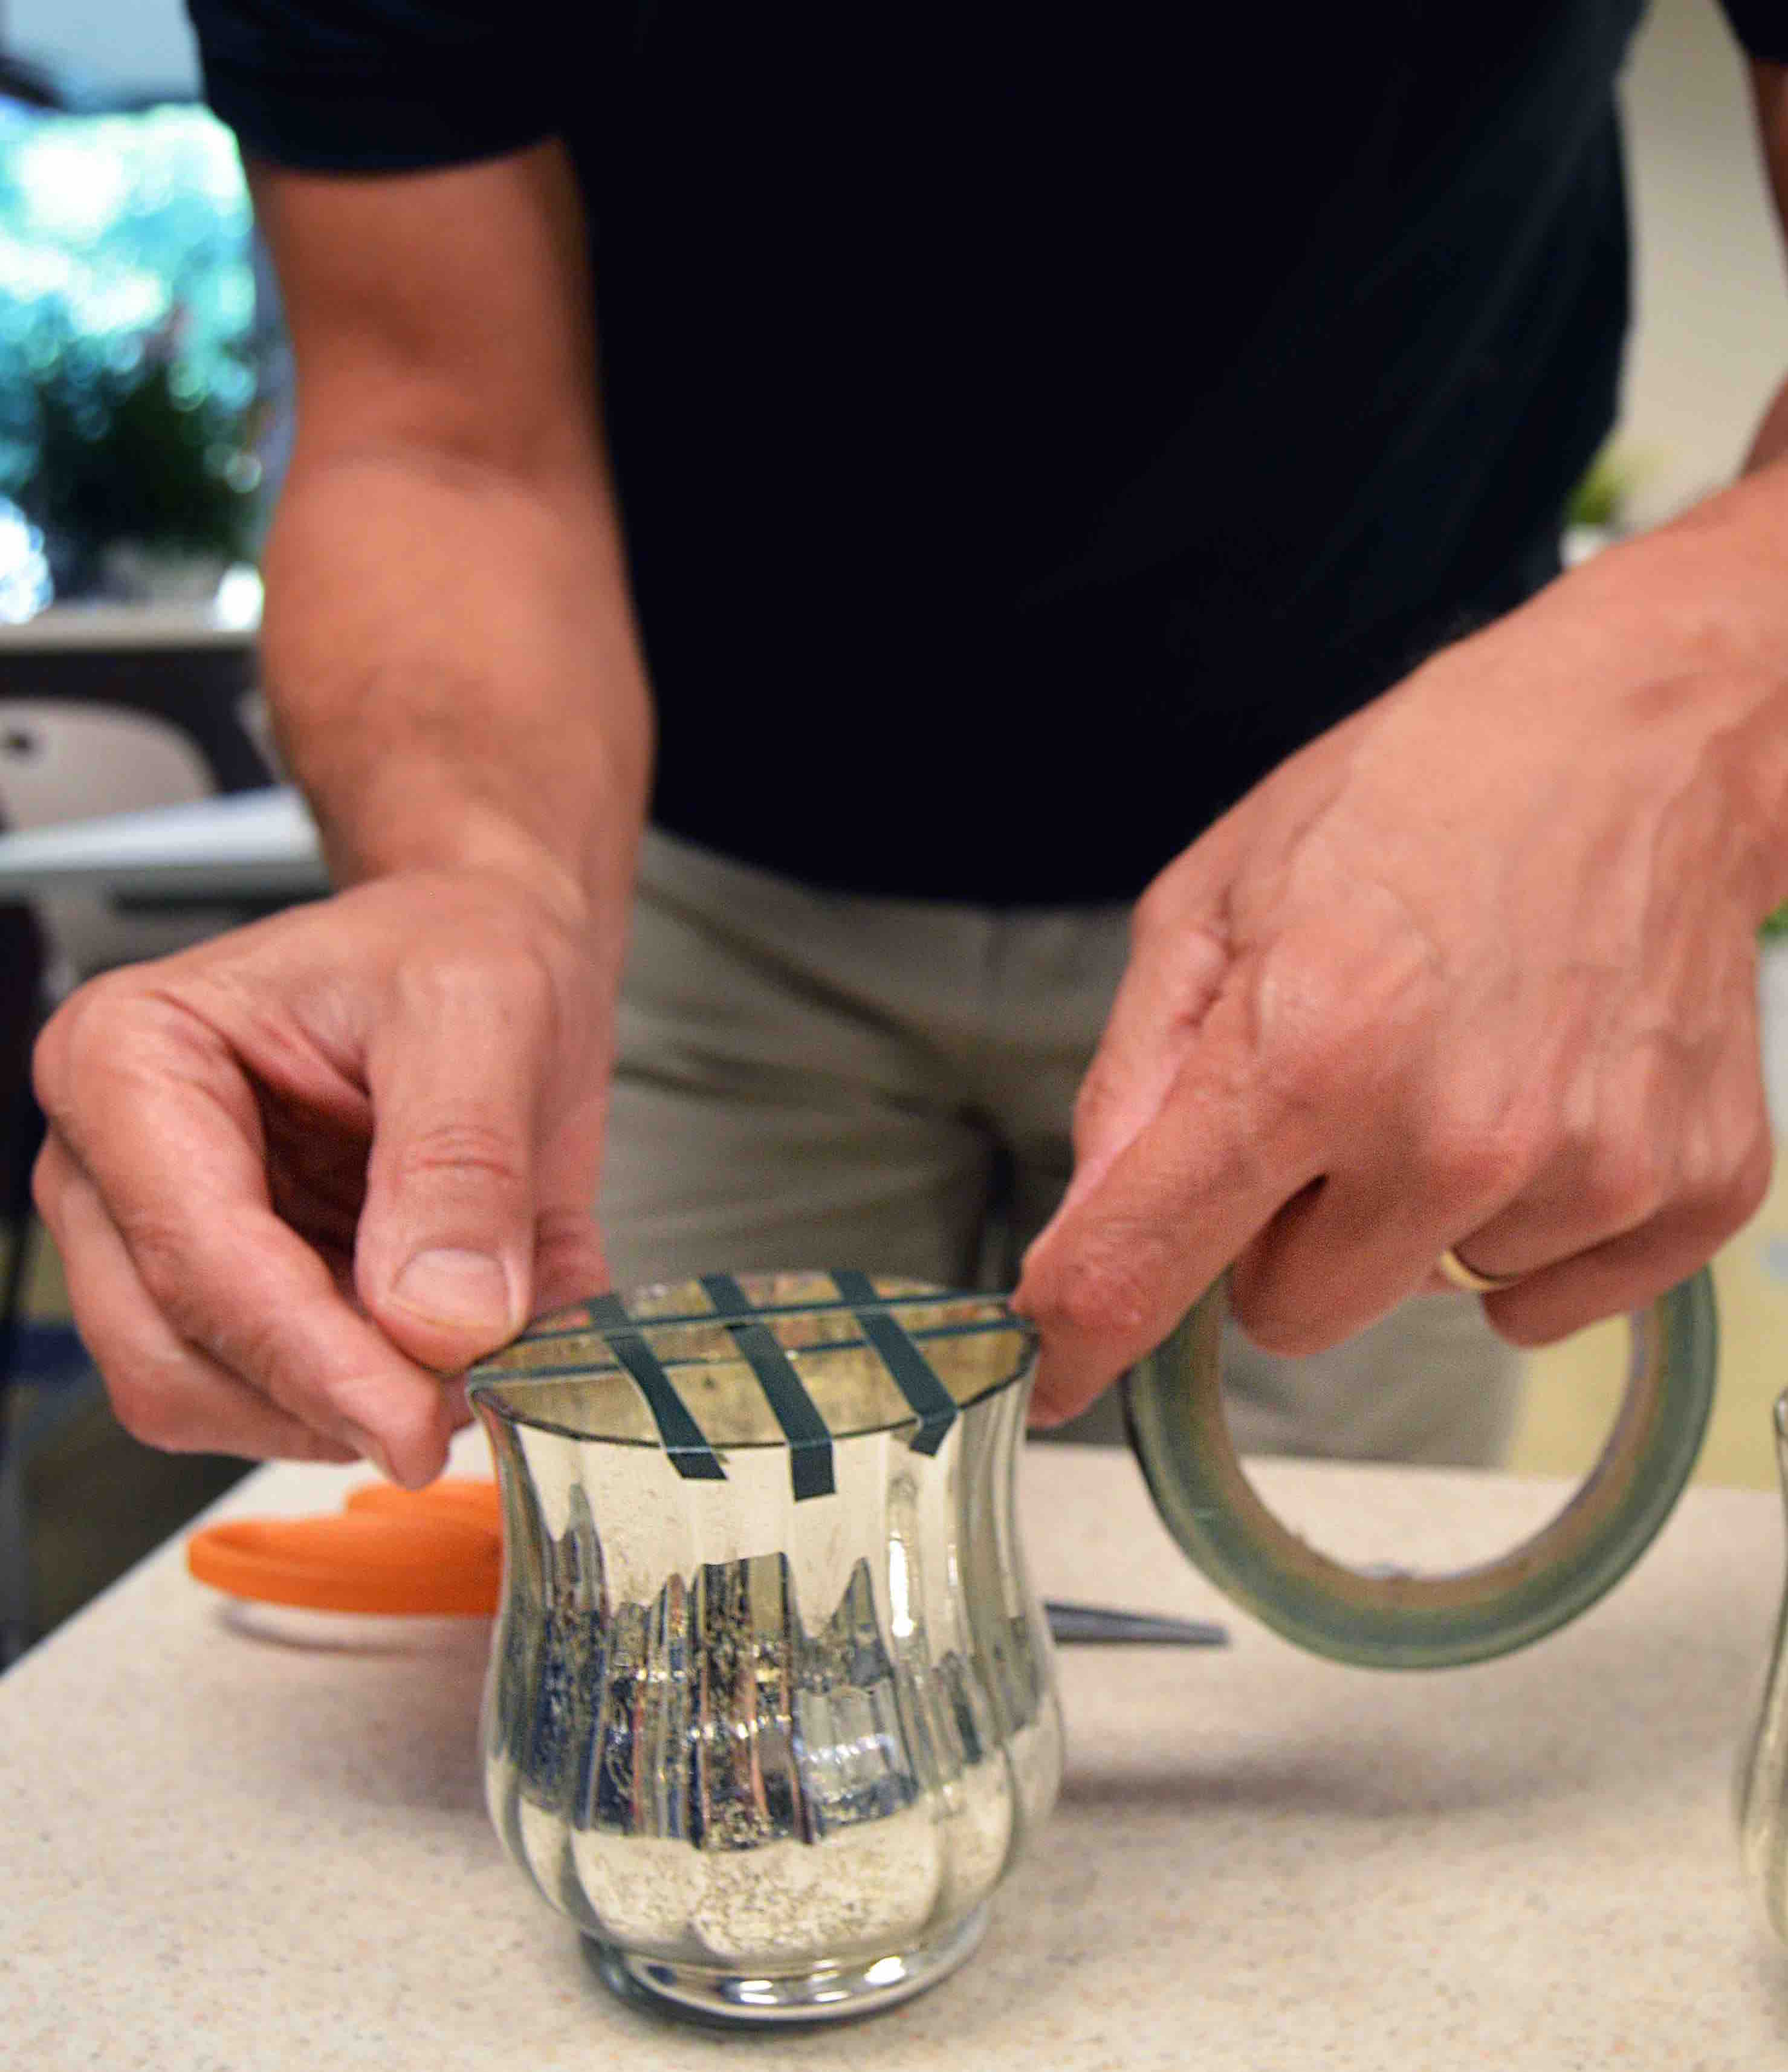
Step 1: I used floral tape to create a grid on top of the glass to help keep each stem in place. Sara’s Note – As a person who loves organizing this made so much sense to me and was a huge help with keeping every stem where I wanted it. When we moved on to taller arrangements Lisa taught me a different technique where you can pick what flowers you like, organize them in your hand how you want and tape them in a bunch then put them in your vase. As a beginner I felt that creating the grid allowed me more flexibility but as I created more arrangements I saw how Lisa’s tip could be quicker.
Step 2: I filled the vase with water all the way to the top…don’t skimp on the water!
Step 3: I put greens in first, creating a mound of greens along the otter squares of the grid. Randall says don’t be afraid to take leaves off the stem of the greenery or flowers if they look like they will not go with your vision for the arrangement.
Step 4: I picked my three show stoppers and placed them in the center of my arrangement then started filling in the gaps with pops of colors that matched.
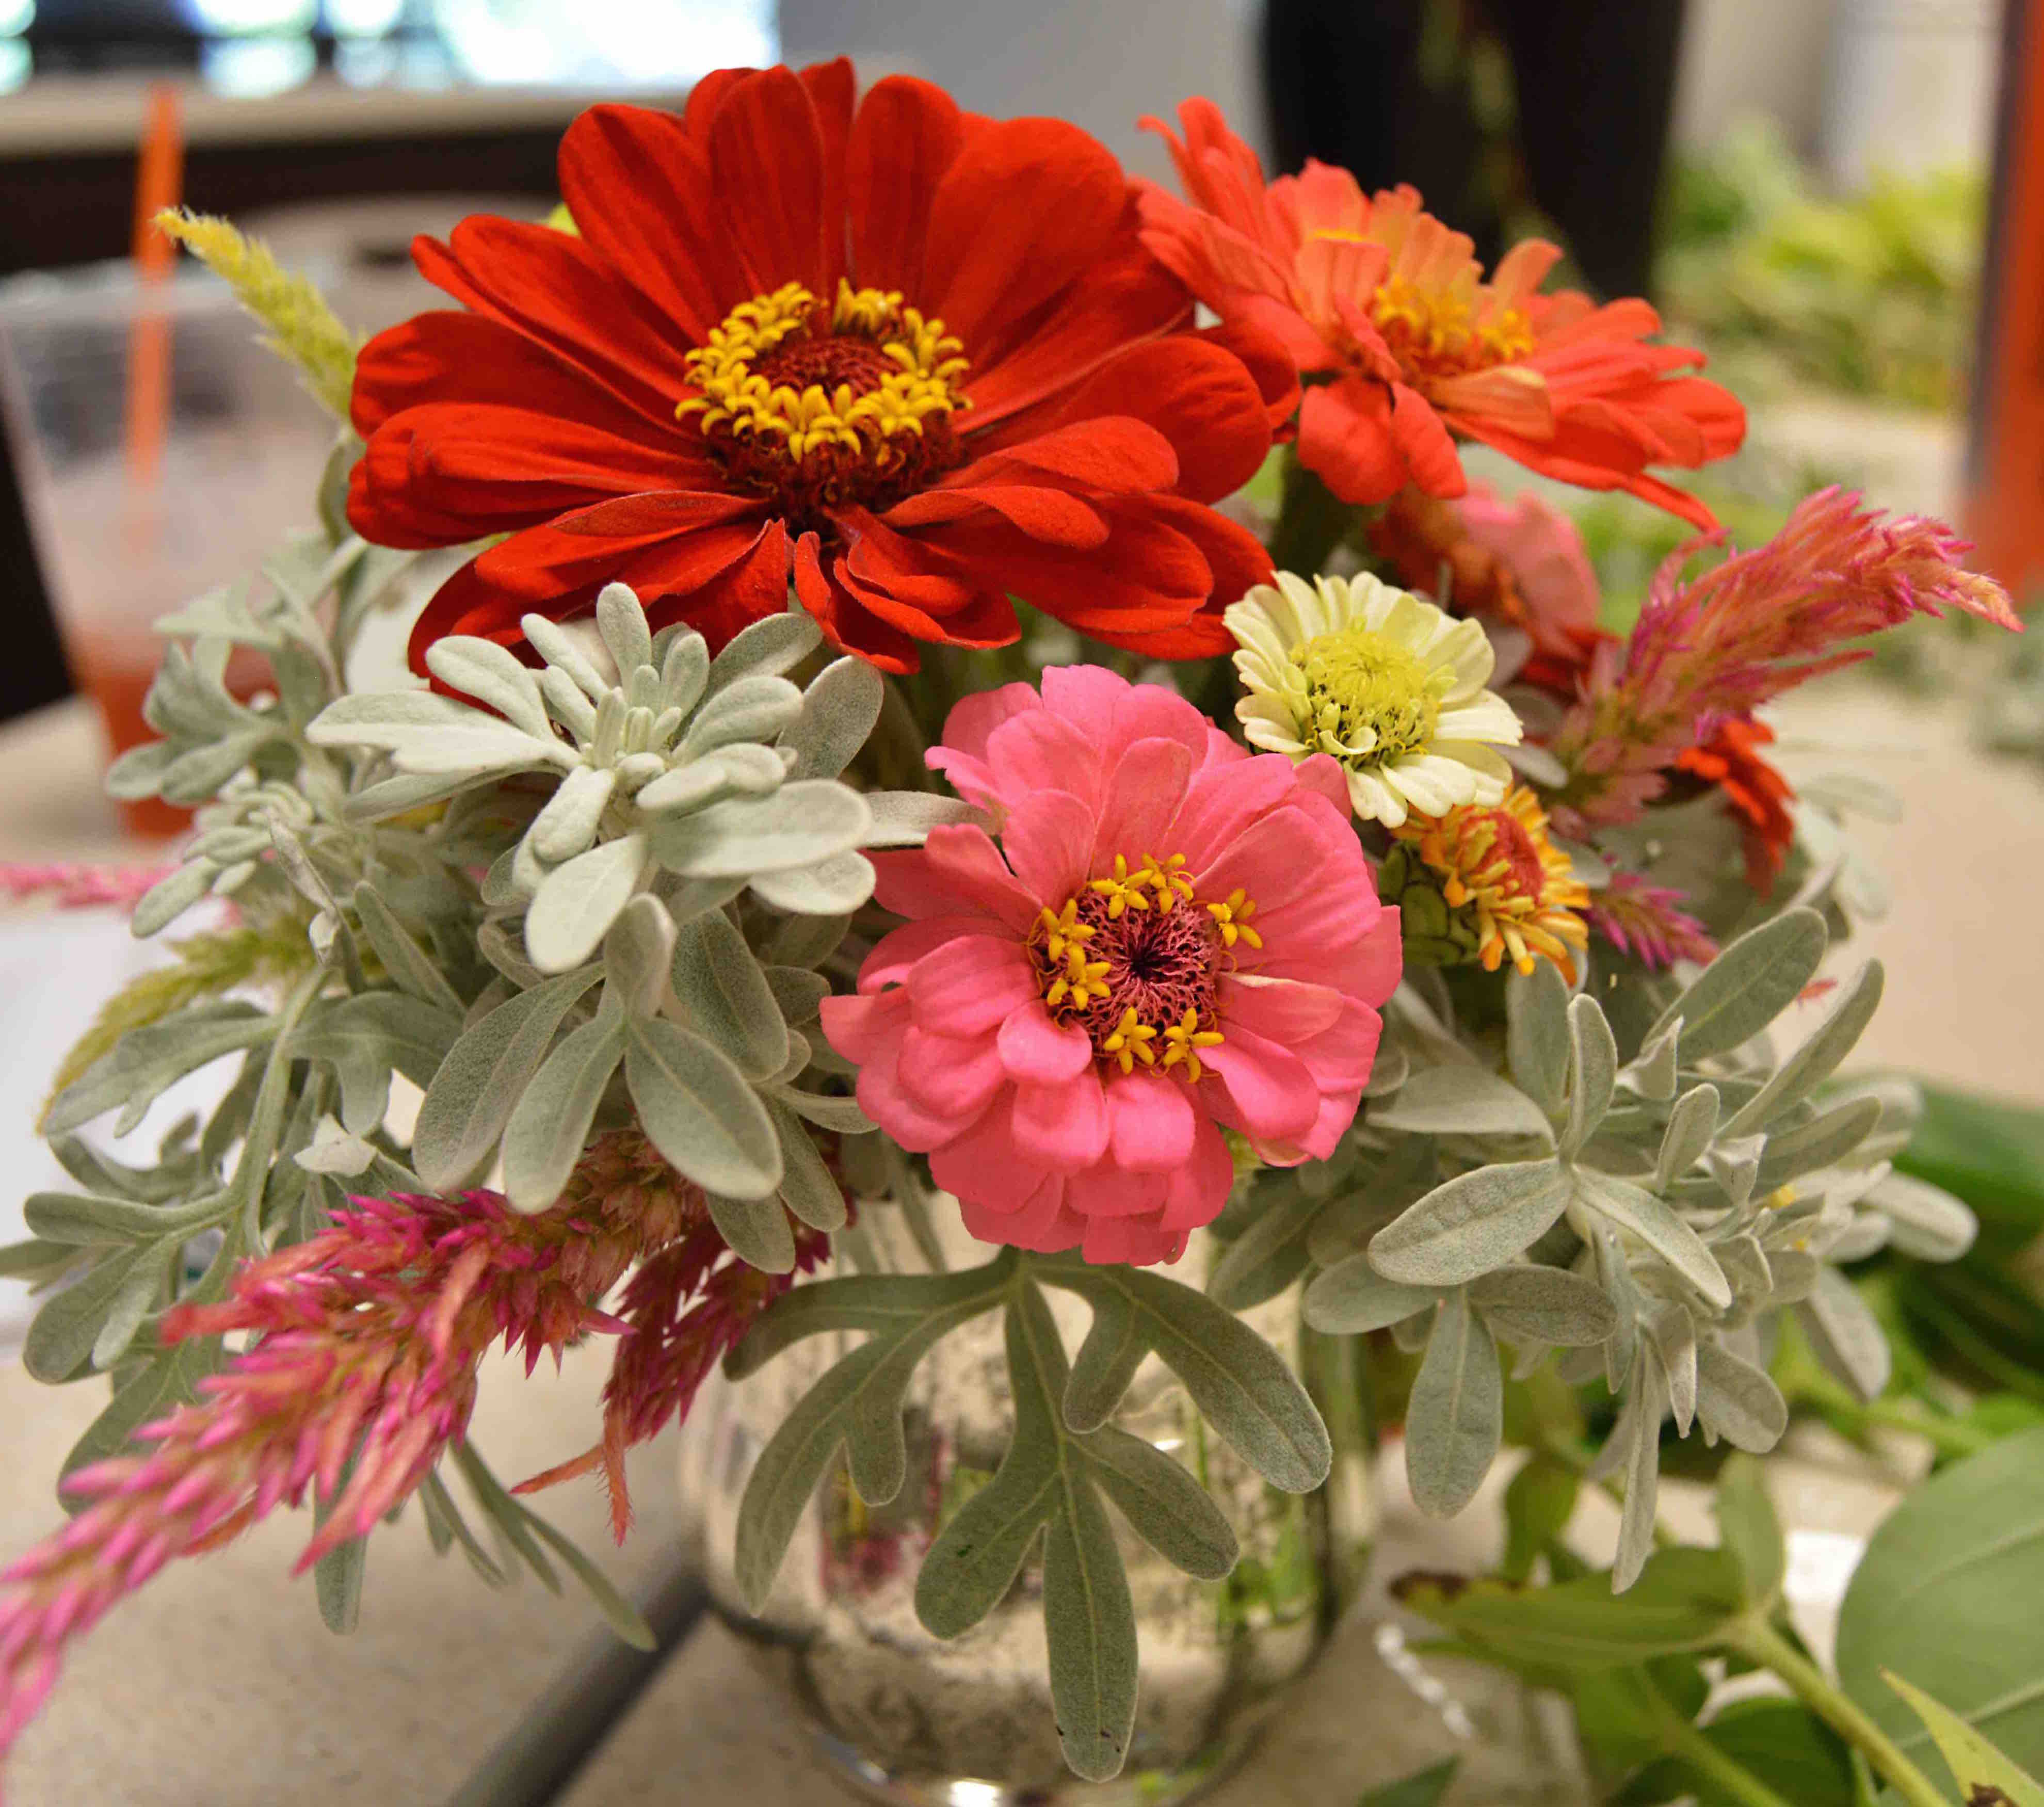 Step 5: Enjoy!
Thank you Randall and Lisa for all your patience and encouragement during this learning process and for all of your great tips!
If you have a topic you want to learn more about that you would like us to cover in our Teachable Moments series please email sara.conant@maine.edu.