Teachable Moments: Using Steam Canners
by Kate McCarty, UMaine Extension Food Systems Professional

There’s now another type of canner approved for use in preserving high-acid foods at home. An atmospheric steam canner, an appliance designed to preserve foods using steam, has been sufficiently tested by the University of Wisconsin, National Center for Home Food Preservation, and USDA for us to recommend as an approved method of canning high-acid foods.
In other words, home canners can use a steam canner in place of a boiling water bath canner, for the same amount of time, as long as you follow the proper procedure for using a steam canner.
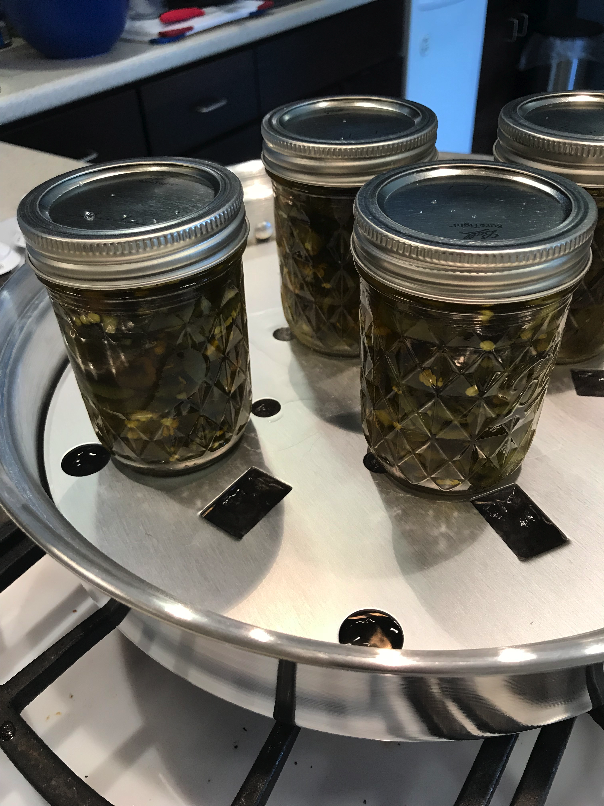
UMaine Extension Extension Educator Kathy Savoie and Food Systems Professional Kate McCarty tried out a steam canner by pickling the last of the season’s jalapenos from the Portland Farmers’ Market. A steam canner has a shallow base with a rack and a large dome lid. The lid has a temperature indicator that lets you know when to begin your processing time. The aluminum pot holds 8 pints and 7 quarts, much like a boiling water bath.
To operate the steam canner, fill the bottom portion of the pot with about 2-1/2 quarts of water, which will make the water level even with the rack. Preheat the water to 140*F for raw pack foods and 180*F for hot pack foods while you prepare your recipe. Use canning jars with a two-part dome lid and screw band and preheat your jars before filling, just as you would when using a boiling water bath canner.
Prepare your recipe and fill jars as directed by a tested recipe; once jars are filled, place jars on the rack inside the steam canner. Apply the lid with the vent holes facing away from you, and bring the water to a boil. Begin to monitor the temperature indicator on top of the canner.
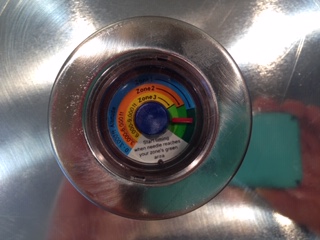
The indicator has three zones that correspond to different altitude ranges. Higher elevations affect the temperature at which water boils, so you need to make adjustments if you are canning above 1,000 feet. Once you’ve found your zone on the temperature indicator, watch the indicator needle as it rises towards the green area. When the needle holds steadily in the green, you can start the processing time. If at any point during processing, the lid begins to lift up or water sputters around the edges, reduce the heat until this stops.
Steam canners can only be used for items that have 45 minutes or less of processing time due to the risk of the canner boiling dry. If the canner boils dry during processing, the jars need to be reprocessed properly.
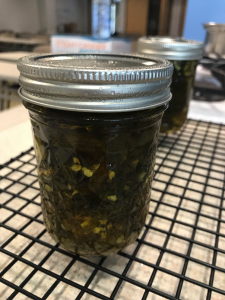
Once the processing time has passed, carefully remove the canner from the heat. Let the canner stand for 5 minutes, and then remove the lid so that the steam escapes away from you. Let the jars cool, undisturbed, on the counter for 12-24 hours until the seals form. Once sealed, label, date, and store jars without screw bands as you would any other home canned goods.
The benefits of the steam canner are that it uses less water, and therefore less energy is required to heat the water to the proper temperature. Drawbacks are that it is a specially designed piece of equipment and must be purchased, rather than adapted from another pot you may already have, like a boiling water bath can be.
For more information on steam canning, please visit the University of Wisconsin Safe Preserving: Using a Steam Canner and the National Center for Home Food Preservation Burning Issue: Using Atmospheric Steam Canners. To learn about hands-on workshops in your area, visit our schedule of food preservation workshops.