How to create an interactive map using UMaine Maps
Start by creating one or more Map Point Categories for your interactive map.
Map Point Categories allow you to control the appearance and the URL of your map. They can also allow users to filter results when viewing your map. Example: UMaine Extension Locations Map uses six Map Point Categories (listed under “Filter” on the left).
1. Select UMaine Maps in the left-hand menu. Click Map Point Category to create a new category (or edit/manage categories later on).
2. In the spaces provided under Add New Map Point Category, give your category a Name. The name is how it appears on your site. Add a Slug. The “slug” is the URL-friendly version of the name. It is usually all lowercase and contains only letters, numbers, and hyphens. You will not be able to select a Parent Map Point Category until you have created at least one Map Point Category. As categories are created, they will appear automatically in the dropdown menu. Add a Description (optional). If you want a custom icon to appear on your map instead of a standard location pin, select an Image. Images should be simple enough to display at very small sizes; png files with transparent backgrounds work best.
3. Click Add New Map Point Category to save your category. Categories can be edited at any time. Edits will affect all map points using the category.
Next, create map points for your interactive map.
1. Click on UMaine Maps in the left-hand menu. Select Add New.
2. Type the Title of your map point in the space provided directly above the editing toolbar. Keep in mind, this title will display on your map.
3. Edit the permalink to shorten it, if desired.
4. Add information about the location in the editing window (optional), such as office hours, special parking instructions, etc. or leave blank. Do not add phone, website or address here.
5. Scroll down to the Location Address window. Type in details about the location, such as phone number, website address, and street address. Google will automatically put in the Latitude and Longitude and display a map based on the address. If the pin on the map isn’t in the correct location, you can reset it by dragging and dropping.
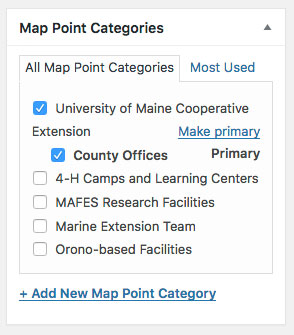
6. Select Map Point Categories for your map point. Select all that pertain to your map point.
7. Set a Featured Image (optional). This image will display along with the Map Point’s location details when a user clicks on your map point.
8. Click Publish to save your map point.
Repeat steps 1-8 to create additional Map Points.

View your map
Your map can be viewed by replacing the highlighted text below with your county or program URL and the slug from one of your categories:
- https://extension.umaine.edu/county-or-program/map-points-category/slug
For example, the maps below are located on Extension’s main site; category slugs have been added to the end of the URL: