Making Juice from Fruits: Our Farmhouse Journey
— By TerriLee Welch, UMaine Extension Master Food Preserver Volunteer
In 2012, we bought a rundown two-hundred-year-old farmhouse in Sebago, aiming to restore it to its former glory. Along with two beehives, we planted large gardens, grapes, and fruit trees to benefit us and our bees. We soon realized that the harvests came all at once, filling multiple five-gallon buckets and overwhelming us. With the demands of construction, family life, and aging, it felt like a daunting task.
However, during my Master Preserver Class (2018-2019), I discovered that steam juicer equipment could help. I purchased one in August 2021, and it transformed my fruit processing experience. This tool simplifies juicing with minimal prep work, as the steam does most of the work.
Why Use a Steam Juicer?
The steam juicer is invaluable: it allows us to produce 100% fruit juice that’s perfect for drinking. I sometimes mix it with seltzer water for a refreshing sparkling beverage. The extracted juice can also be used to make jelly or even wine. Other uses include mixing juice with alcohol for cocktails, creating fruit leather, sauces, marinades, and salad dressings. Juice can also be a substitute for water or milk in baking, be used for flavored ice cubes, and be incorporated into sorbets, oatmeal, yogurt, popsicles, and smoothies.
Types of Fruit You Can Use
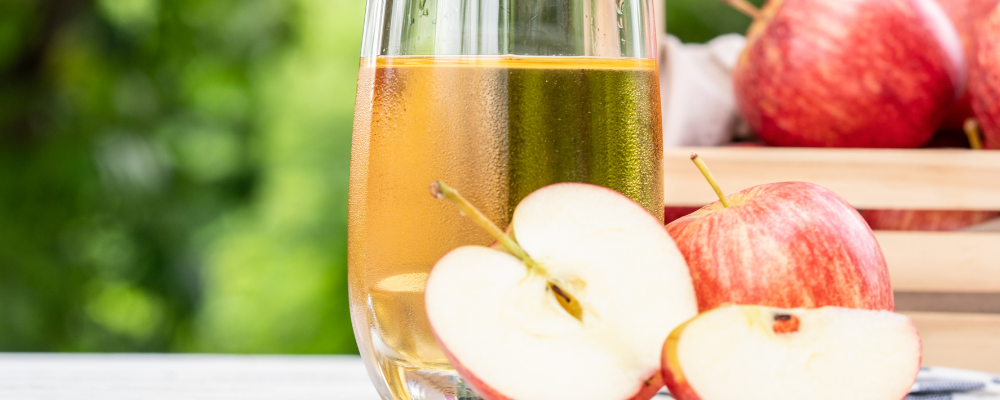
You can juice apples; berries like blueberries, cherries, and cranberries; grapes; and tomatoes. I’ve found ways to use all these fruits, including peels, which we use to make juice and then feed to our chickens—a win-win!

Equipment Needed
I use the ‘Norpro Juicer Steamer,’ a stainless steel model I prefer, though it’s pricey at around $130. Alternatives include the Vittorio Steamer Juicer and others. You’ll also need washed and sterilized canning jars, dome lids, screw bands, a jar lifter, a headspace measurer, and a stock pot. I repurposed my grandson’s old highchair as a stand for the stock pot with a towel underneath to catch spills.
Quantity and Quality
For grape juice: you need 25 pounds for 7 quarts or 16 pounds for 9 pints. Select sweet, firm grapes that you would want to eat. Wash thoroughly before using.
Preparing for Juice Making
For grapes, fill the bottom of the juice/steamer with the suggested amount of water. Place washed fruit in the steamer/colander; if using grapes, I don’t remove the stems. Steam the fruit for about one hour until the grapes are colorless and dry. Using the rubber hose I drain the very hot liquid into a stock pot. Bring the liquid to a boil and then ladle the juice into sterilized jars, leaving a 1/4-inch headspace. Wipe the rims and place the lids on fingertip tight.

Load the jars into a boiling water bath canner half-filled with hot water, adding more water if needed to ensure the jars are covered with 1 to 2 inches of water. Bring water in the canner to a vigorous boil, cover, and process for 5 minutes (processing times vary depending on your elevation). Adjust the heat if needed to maintain a constant boil. When the time is up, turn off the heat and remove the lid, lifting it away from you. Wait 5 minutes, then remove the jars and place them on a towel or cooling rack. Do not set hot jars on a cold surface, as that might cause jars to break. Let jars sit undisturbed for 24 hours. Afterward, check for vacuum seals, remove the screw bands, wash the jars, label and date them, and store them in a dry, cool, dark place.
This setup has made turning our homegrown fruits into delicious juice easy and enjoyable. The steam juicer has revolutionized our fruit harvest process, turning a once overwhelming task into an efficient and satisfying experience.
No endorsement of products or companies is intended, nor is criticism of unnamed products or companies implied.