Bulletin #4311, Planning and Managing a Community “Giving” Garden in Maine (Section 16)

Ready to Plant: Stage 2—Next Plants to Sow or Transplant
The next plants to consider putting into the ground are plants that are slightly less forgiving of a late cold snap than the Stage 1 plants. They can be planted in early May or later. Plants in the Stage 2 group include carrots, parsnips, beets, lettuce, Swiss chard, dill, and celery. Second sowings of all of the Stage 1 plantings work as well at this time.
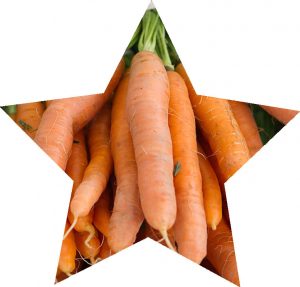
Carrots
This may be my least favorite crop to plant because it is difficult to establish, but it is a highly useful crop. The issue with carrots is germination and then thinning. I would start by preparing a very fine seed bed given the small size of the seed. You must plant a carrot seed shallowly so it will have enough energy to emerge. But plant too shallowly and you risk the seed drying out. Regular rainfall or watering of carrots is essential to get them to emerge. They can take as long as 10–21 days to germinate! That is a long time to keep plants damp if you are having a dry spring. You will want to plant these seeds 0.5-inch-deep and 0.5 inch apart in rows 8 inches apart for maximum production. If you have more room, plant at a wider row spacing, but again we aim for maximum production. Pelleted seeds are available that really aid in getting the proper spacing because you can see the seeds with their white clay coating. However, you need a lot of water to penetrate and break the clay coating on the seed. That can make it take even longer to germinate, and make you must work harder to keep that soil moist. So, although I think the pelleting is beneficial, but it can make carrot seeds more difficult to germinate.
One way to help ensure germination is to mix in a bit of compost with your soil from the bed and use that to cover the seeds. Then water the seeds well and cover with row cover without supports. The row cover will help keep the seeds from drying out in between rain and watering, and rain will percolate through the row cover when it does come. The cover helps prevent any heavy rain from crusting the soil. Carrots need all the help they can get.
Then, depending on the methods used, you will likely have to thin the rows. A good-sized carrot will be an inch in diameter. Therefore, if you’ve planted across the width of a 4-foot bed, you will want to thin to a spacing that ultimately will allow you to have something on the order of 50 carrots per row in the 1–2-inch-wide bands across the raised bed. There will likely be gaps where nothing germinates, and there will likely be areas that are way too thick. So, you will be forced to thin to the desired level. You may be tempted to put an extracted carrot seedling in an area that did not germinate, but that won’t work. Carrots and parsnips do not transplant well at all. It is a waste of time to try (as hard as it is not to want to do it).
Carrots will need to be thinned down to approximately 12 plants per foot in a 2-inch banded row to maximize productivity. Unfortunately, little carrots are not very good to eat. So, they will need to be thinned and discarded or composted. Carrots will have varying times to maturity from 55 to 70 days. Early planted carrots have the best chance of germinating, and the last day to plant carrots should be just before the 4th of July.
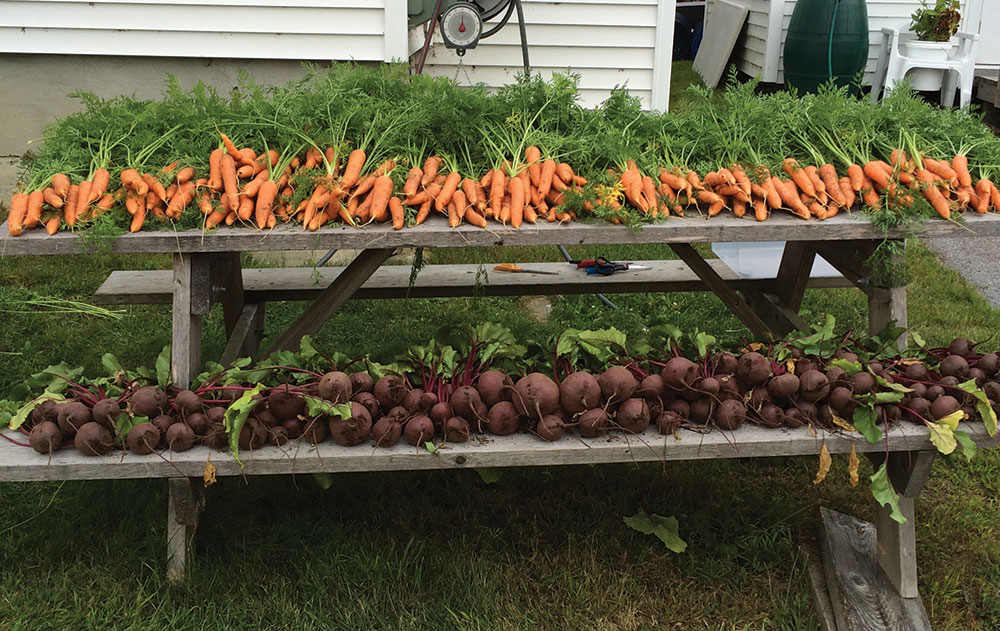
We use a 9-tine broadfork to harvest carrots. You can easily loosen the soil and the carrots pop out very nicely. They can be rinsed off, bunched, and banded to give to seniors in their delivery.
Watch for: Keep seeds moist during germination; wireworm damage.
For information about nutrition, selection, preparation, and storage of carrots, along with healthy recipes, see Bulletin #4175, Vegetables and Fruits for Health: Carrots.
Parsnips
Just about everything that pertains to the planting of carrots is like that for parsnips. The difference is that many people plant their parsnips with the Stage 2 crops, but choose not to harvest in the fall, and instead allow them to overwinter for a sweeter spring product. That can work if you want to give your parsnips to volunteers who might come help you work beds in the early spring. But it is likely a better idea in a community giving garden program to harvest at the end of the season and let the recipients add their own sweetness to the vegetable if they desire.
Seed bed preparation, sowing methods, thinning methods, and fertility are virtually the same for parsnips as for carrots. Instead of 50 plants per 4-foot row, you might go with fewer parsnip plants—more like 40 per 4-foot row. Harvest and vegetable prep at the end of the season is like that with carrots.
Watch for: Keep seeds moist during germination; wireworm damage.
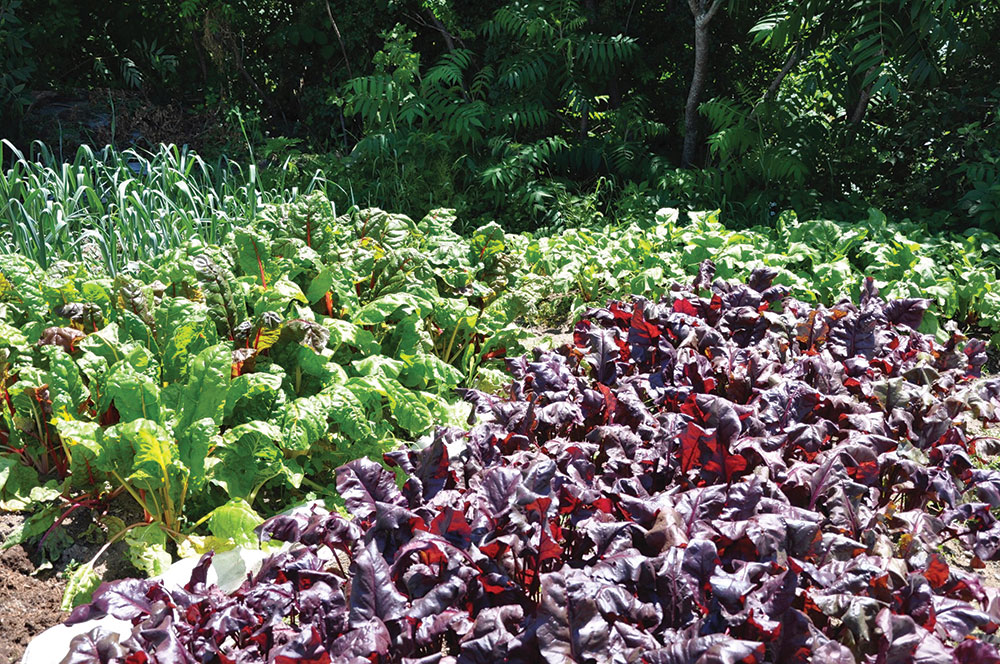
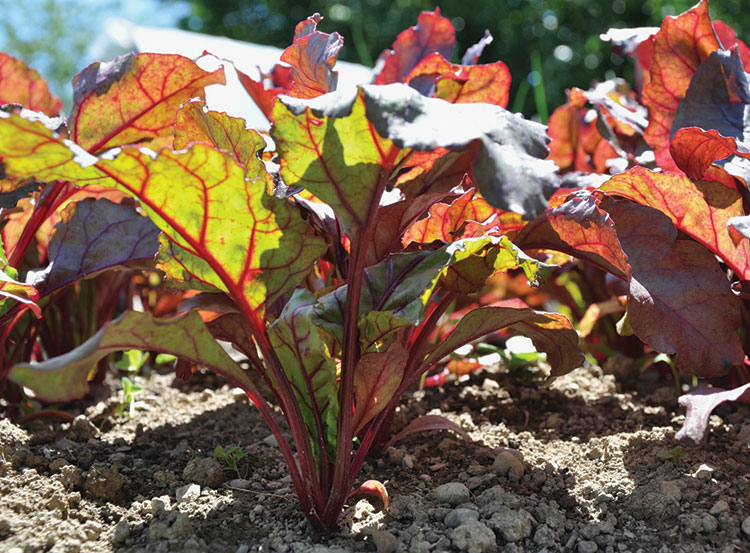
Swiss Chard
This is one of the beautiful vegetables in the garden. It is not usually necessary to cover Swiss chard with row covers, and the fineness of seedbed preparation is less for beets and Swiss chard than for carrots or parsnips. Swiss chard can be sown across the beds in rows 8 inches apart with approximately 10–12 seeds per foot sown at 1/2–3/4-inch depth. Due to the biological nature of this plant, a given seed produces two plants, and as such thinning will be needed. You will want a final stand of about 24 plants per row across a 4-foot bed in rows 8 inches apart. The multicolored Bright Lights variety is my favorite, but solid colors are also available.
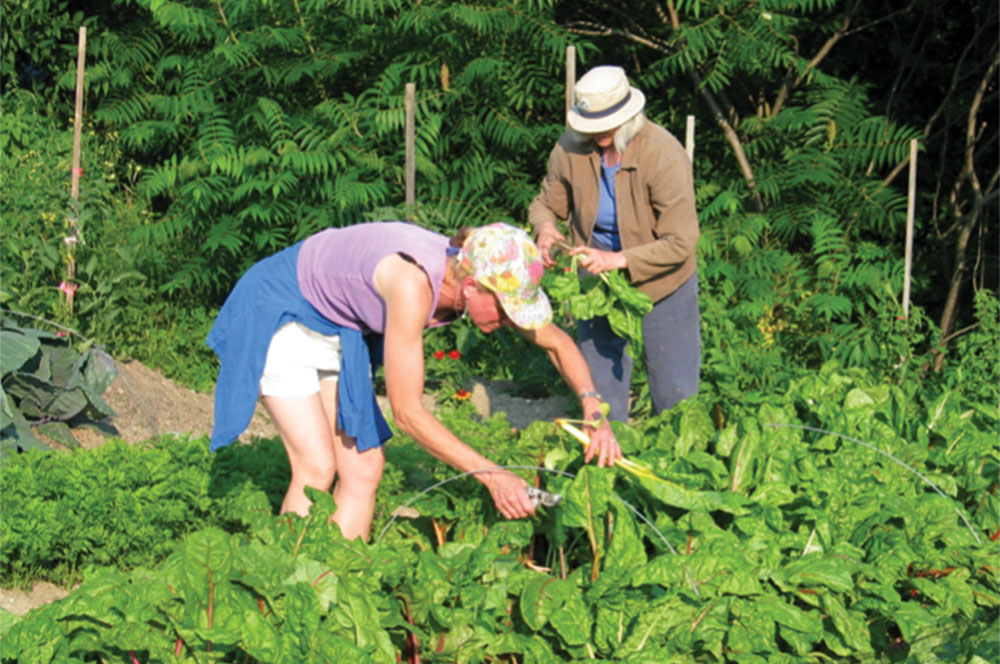
Harvesting Swiss chard is particularly interesting. You can eat baby Swiss chard that you remove with thinning just as you would with spinach or lettuce. It can also be sautéed if you have a lot of it. When it comes to harvest, most of the plant can be cut, but leave about 2-3 inches of the existing plant with one to two interior leaves to regrow. You can harvest one bed at least twice during the season.
Watch for: Deer feeding damage; leaf miners.
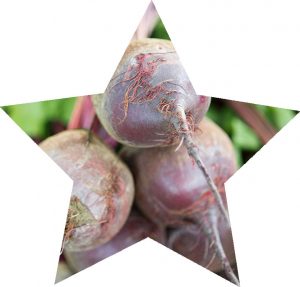
Beets
Beets are essentially Swiss chard with a fascinating root. If you ask most people if they like beets, the response is either positive or negative. They are usually all in or all out. Much like some people taste soap when they eat cilantro, some people taste dirt when they eat beets. Therefore, they don’t care for them. Having made many a mud pie in my youth, I love them, and most of our recipients adore beets. In our evaluations of the program, most people request that we continue with lots of beets.
There are several styles of beets. The standard is the blood red beet with standard green foliage. There are also golden beets, candy cane–colored striped Chioggia beets, and there is also a white beet (but don’t grow this … it’s confusing because it looks like a turnip).

Beet culture is easy. Given the large seed size, we typically form moderately fine seedbeds and sow our beets in bands across the beds on 8-inch row spacing. As the plants emerge, most beets (except the variety Moneta) will have two plants per seed. So, thinning will be important. I try to wait until there is enough green material to add to a salad before I thin. You may be able to thin four or even five times before you are at your final spacing for maximum beetroot development. Ideal harvest size for beetroots is between a golf ball–size root and a baseball. The larger a beetroot gets, the greater the potential for them to get woody or split. Regular moisture and appropriate spacing may help to prevent splitting, but it happens inevitably to some beets in a bed.
Stagger beet plantings from 2–4 weeks before the final frost until mid-July. This will guarantee that you will have enough beet greens to provide to volunteers and recipients throughout the summer.
Watch for: Monitor density of beets and try to have consistent watering. Also look for deer feeding damage and leaf miner damage.
For information about nutrition, selection, preparation, and storage of beets, along with healthy recipes, see Bulletin #4252, Vegetables and Fruits for Health: Beets and Beet Greens.
Celery
The celery that we grow is used primarily for cooking purposes, not for spreading peanut butter on and munching it. However, this has not been the best crop for the Orono Community Garden. Every year I buy celery to plant in the garden. Most of the time, the celery gets stalk rot. We are not the only ones who suffer from this problem. The culprit is Rhizoctonia solani, the same fungal organism that causes black scurf on potatoes. If celery is important to you, I would advise growing a mustard cover crop after you harvest a leafy green a year prior. Let the mustard grow to full flower. At full flower, if you can mow it with a mulching mower, do so. If not cut it the best way possible, and incorporate it immediately into the soil. Then, work the soil in the spring and transplant your celery.
Celery likes moist cool growing conditions. Regular watering is helpful, but warm and wet conditions favor rhizoctonia activity. If you choose to grow celery, good luck!
Watch for: Stalk rot.
Annual Herbs: Parsley, Dill, and Basil
In the grand scheme of things, herbs are easy to grow, but they are often difficult to manage in a large food delivery program. Parsley is probably the most useful of the herbs because it is moderately easy to grow and grows large. Flat Italian parsley is easy to wash, bind up with a rubber band, and give to recipients. It has wide enough uses that it warrants a good-sized bed. Grown from seed, the culture is easy with the caveat that you need to keep this slow-emerging seed (from the same family as carrots and parsnips) wet for a long time. Sow 4–5 seeds per inch in 8-inch rows across the bed, water well, and thin to 3–4 good-sized plants per row foot. You can harvest branches, and the plant will regrow.
Dill is a useful herb, but it has fewer practical applications in a giving garden model. Some recipes call for a dash of dill, but its use is somewhat limited. Dill is best grown in a bed with other herbs, and its seed is planted at a 1/4-inch depth. Water well and plant as many seeds as you think you will use.
Basil is a great garden herb. It should really be planted after the last frost-free day has passed. It is extremely intolerant of cold. If you plant too soon, and the plant is stressed badly by cold, I would recommend replanting. I would buy basil plants to transplant into the garden. A small basil plant in a 2-inch plug will easily become a 2.5-foot-tall plant about a foot in diameter. So, transplant in a bed across a row on a 3:4–type offset planting scheme. With olive oil, pine nuts, garlic, and Parmesan cheese, the leaves make amazing pesto. Leaves can be put onto tomatoes with mozzarella cheese to make caprese salads in the late summer.
Watch for: Be prepared for long germination for the parsley. Protect basil if the temperature will drop below 40 degrees.
Key Lesson #3
Do your best to never allow your plants to get stressed. Stresses include chill stress, overcrowded transplanting, too densely sown seeds, weed competition, overly root-bound transplants, disease, and insect stress. Once a plant has been stressed, it is not likely to ever reach its full potential! Many times it is better to start over than to think the plant will recover. Chill-stressed basil is a great example. It rarely recovers.
University of Maine Cooperative Extension is an equal opportunity institution and provider committed to nondiscrimination. For more information, visit extension.umaine.edu/nondiscrimination.