How to Freeze Fruits and Vegetables
— By Kate McCarty, Food Systems Professional, University of Maine Cooperative Extension
Freezing is the unsung workhorse of summertime preserving. Freezing fruits and vegetables can take less time than canning and results in a product that is closer to fresh than a canned product. A few tips will help make sure your frozen foods are top-quality when you use them months later.
Tips for Freezing Vegetables
Many people enjoy freezing homegrown or locally-grown corn, green beans, tomatoes, and greens. Most vegetables need to be blanched before they are frozen. Blanching means to dunk vegetables briefly in boiling water. This process deactivates enzymes in vegetables that negatively affect the color, flavor, and texture of your frozen vegetables over time. For best results, blanch in small batches and use 1 gallon of water for every 1 pound of vegetables. Blanching times vary by vegetable, so refer to the Freezing Vegetables Quick Guide for instructions on how to prepare specific vegetables.
Exceptions to this rule are tomatoes, peppers, and onions. These vegetables do not need to be blanched before freezing.
Cooling Blanched Vegetables
Cooling your vegetables quickly after blanching is the key to preserving the texture. Using an ice bath stops the cooking and makes vegetables cold before they even go into the freezer, which means they’ll freeze faster. A quick freeze means the ice inside the vegetables forms smaller crystals and keeps the cell walls more intact. A long, slow freeze results in larger ice crystals, rupturing more cell walls and creating a flabby or mushy final product.
If you’re planning to blanch and freeze a large batch of vegetables, make sure you have a lot of ice on hand to keep that water nice and cold—even if that means buying a few 5-pound bags of ice from the store. And for best results, freeze no more than 1 pound of food per 2-3 cubic feet of freezer space.
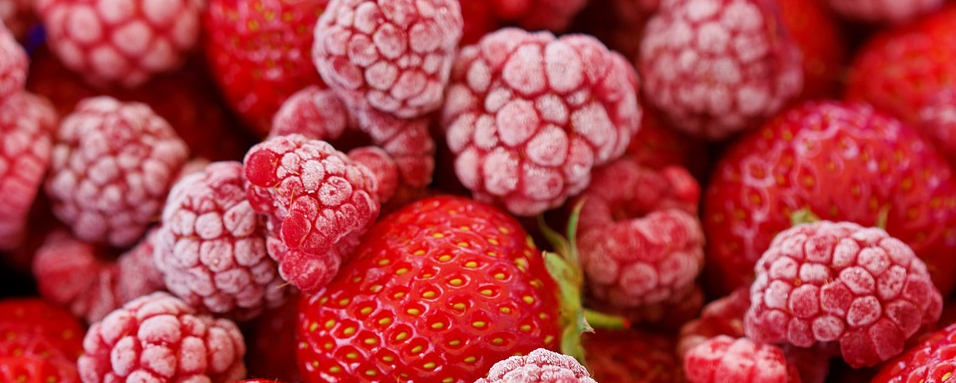
Tips for Freezing Fruit
Fruit does not need to be blanched prior to freezing. Prepare the fruit so it’s ready to eat, meaning peel, slice, and pit fruit as needed. If you are working with a light-colored fruit, like apples, pears, apricots, or peaches, an ascorbic acid dip is recommended to prevent oxidation or browning of the fruit’s flesh. Commercial ascorbic acid dips are available or you can use Vitamin C. Refer to the Freezing Quick-Guides: Freezing Fruits to learn how to make an ascorbic acid dip. Lemon juice also works, but is not as effective as ascorbic acid.
Fruit can be frozen dry, with sugar, or in syrup. Adding sugar or syrup helps to protect the color, texture, and flavor of fruit. Berries can be frozen on a baking sheet before being packaged in freezer-grade materials. This method keeps berries from freezing together in a clump and makes them easier to use in smoothies and baked goods.
Proper Packaging
The right packaging will help you avoid freezer burn on your home frozen foods. Freezer burn is damage to frozen foods that occurs when they are exposed to the dry freezer air. This exposure causes dehydration and oxidation, which will affect the color, texture, and flavor of your frozen foods. The food is still safe to eat, but the quality is poor. Use moisture- and vapor-proof packaging materials meant for the freezer to avoid this unpleasant result.
Options for packaging include zip-top freezer-grade plastic bags, glass canning jars designed for freezing, and vacuum-sealed plastic bags.
Using Frozen Fruits and Vegetables
Now that you’ve got a freezer full of frozen fruits and vegetables, it’s important to find ways to incorporate them into your cooking and baking so they don’t go to waste. Frozen fruit is recommended to be used within 8 to 12 months and can be used in quick breads, desserts like cobblers and crisps, smoothies, and oatmeal. Vegetables should be used with 6 to 8 months for best quality and can be used anywhere you would use store bought frozen vegetables, like stir-fries, soups, casseroles, and side dishes.